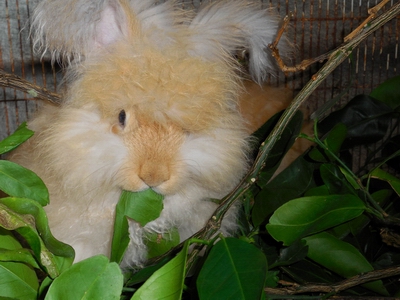
Part of making a webpage involves pictures. I've been going through all the old pictures figuring which ones are good for the webpage and such. As I was doing that, I found a picture of when we were just starting to build the back lanai that we just finished the railings on several weeks ago. Kinda a few years between start to finish, but there was about three years in there when the house was rented and we didn't want to disturb the tenents with hammering and saws and such.
This is sort of a synopsis of the whole back deck project. It started out at a yard sale where we found a nice big hot tub.
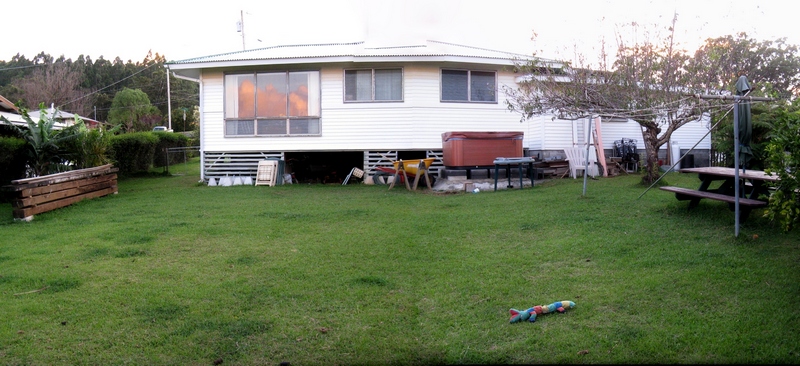
Ignore the weird roof line, when pictures are merged to make them wider they don't always merger together well.
We'd gotten the tub shifted from the yard sale and into the back yard and functioning. It was set high since we figured it was easier to get into a hot tub if it's seat height instead of on the floor. There's also less folks going to walk on it when the cover is on if it's seat high than on the floor, too. Also factored into the height was the floor level inside the house. We'd wanted the back deck to be a couple of steps down from the living room so the back railing wouldn't be in the view as much. So, that's why the hot tub is raised up as high as it is from the ground.
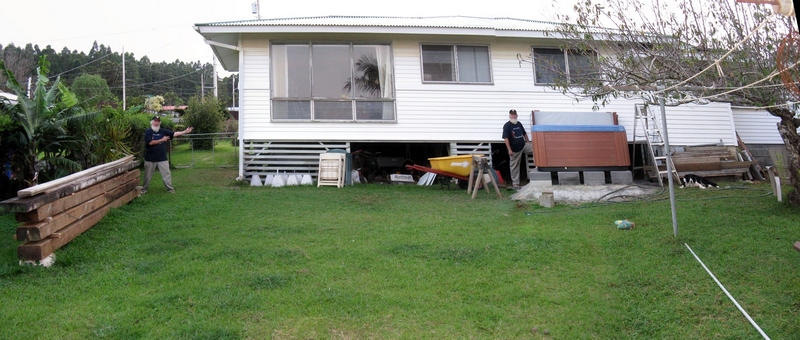
When pictures are merged you get more folks in them although that's just in the picture, unfortunately. Too bad we didn't get the dog to move in the different pictures as well. More dogs would be fun, too. I'd be good to get more folks to help with the various construction projects, but even with just a few folks it gets done eventually. Plus, this is Hawaii, it's not like we gotta worry much about winter and all.
As you can see, installing the tub at a level to be seat high once there's a back deck kinda puts it up in the air. We used a ladder to get into it for awhile, but that wasn't all that easy getting out with wet feet and all.
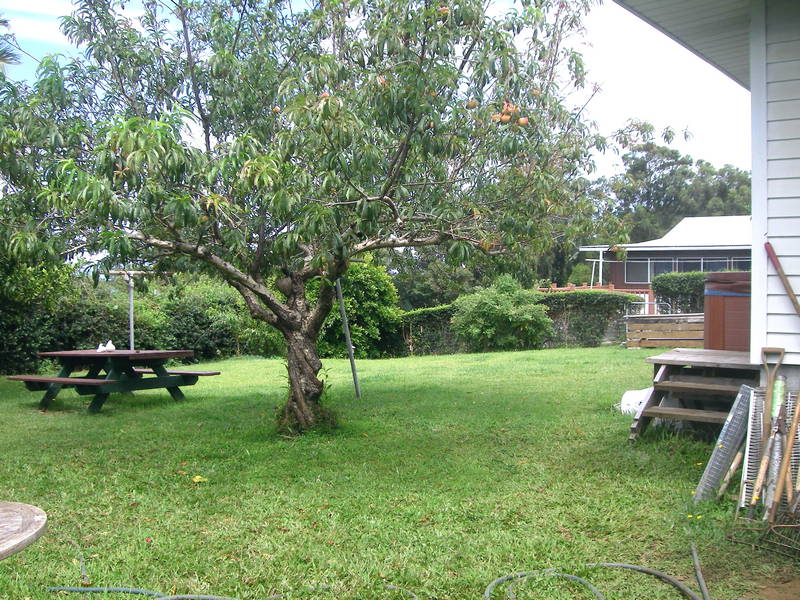
We built some 'temporary' steps to replace the ladder that we had been using for awhile, you can see them over there in the side of the picture. We don't work real fast so things take awhile. There's also the rolls of wire to build the new bunny hutches so that project was still at it's beginnings, too. Although more than likely, that wire is for the second hutch built at that house.
I'm kinda using this view to show the different changes the project went through since for some reason I took pictures of it. You'd think a better shot would have been the entire back deck, but that shot didn't consistently get taken.
The peach tree is healthy in this picture, too. It died after we'd moved to the next house and the renters didn't know why and I wasn't there to see, so I dunno why it didn't survive. It was a pretty old tree, but what's the life spans of peach trees? It might have been a natural event.
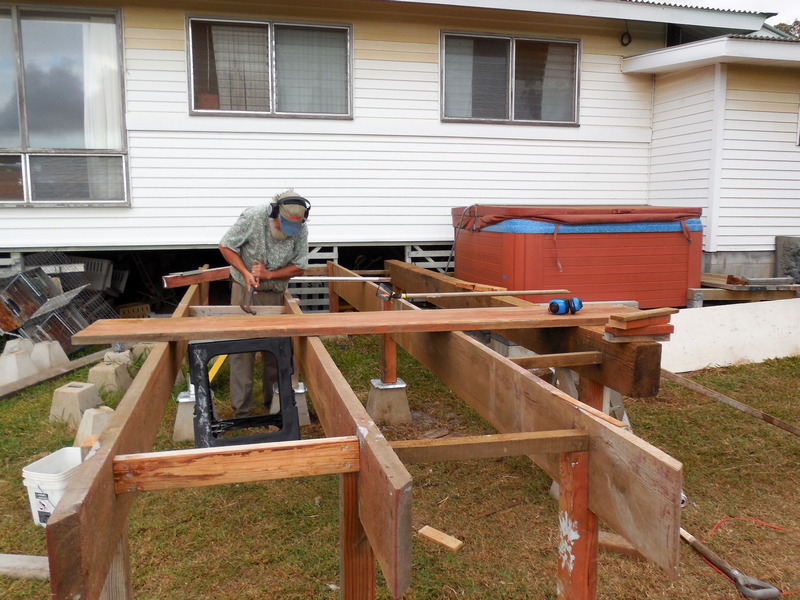
Takes longer to build things when doing it old school with a hammer and nails. Also, it was built with boards we had laying around so it took longer as we had to sort through the lumber pile to see what we had to work with. In this case, we are using some old rafters which is why they have an odd angled cut on the end. That got cut off level later when we trimmed them to size after they were installed.
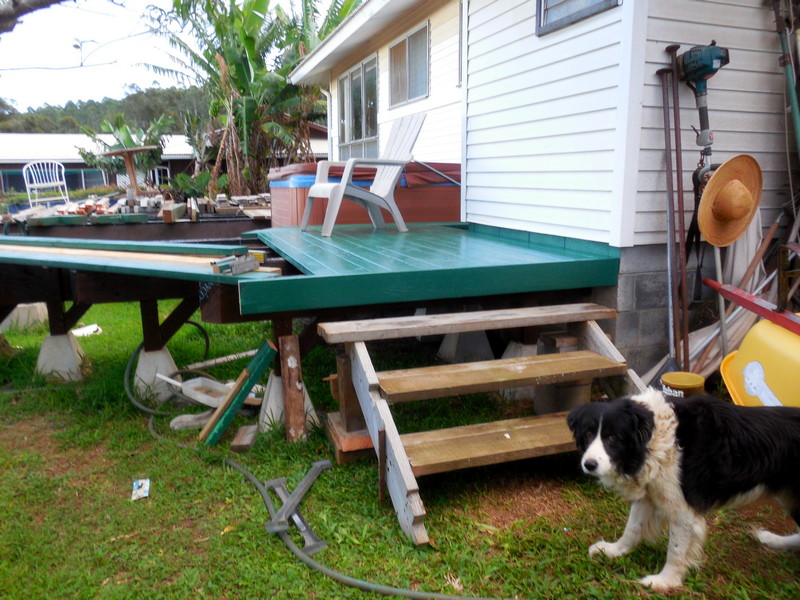
The first bit of the back deck was the side of the tub where the temporary steps had been. Getting in and out of the tub was more of a priority than the rest of the deck. The steps were just the same 'temporary' steps that had been next to the tub but relocated. The wire for the bunny hutches has disappeared from the corner of the building, so most likely by this time the bunnies had a new hutch, too. It always seems like we're working on multiple projects.
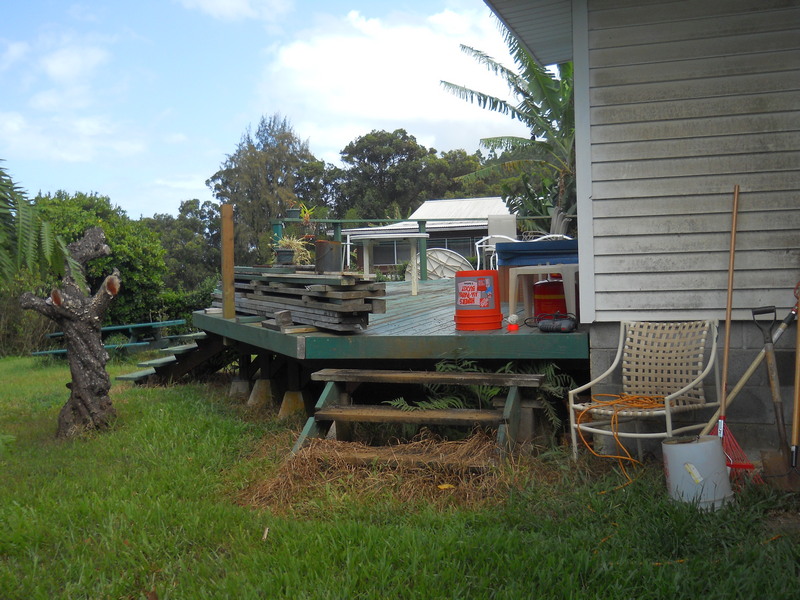
Now in this picture, it's several years later and our renters have come and gone. The rest of the back deck has been filled in with the flooring and there's two other sets of steps but these temporary steps are still there. Considering the weeds that had been growing through them, it doesn't look like they'd been in use much. We'd stacked the lumber along the side of the deck, partly because we weren't sure where to put the lumber and partly to sort of make a railing since we'd never actually finished the back deck before the renters moved in. So, since the house was between renters at the moment, we'd figured it was a good time to finish the back deck and now the pictures are up to more or less current times.
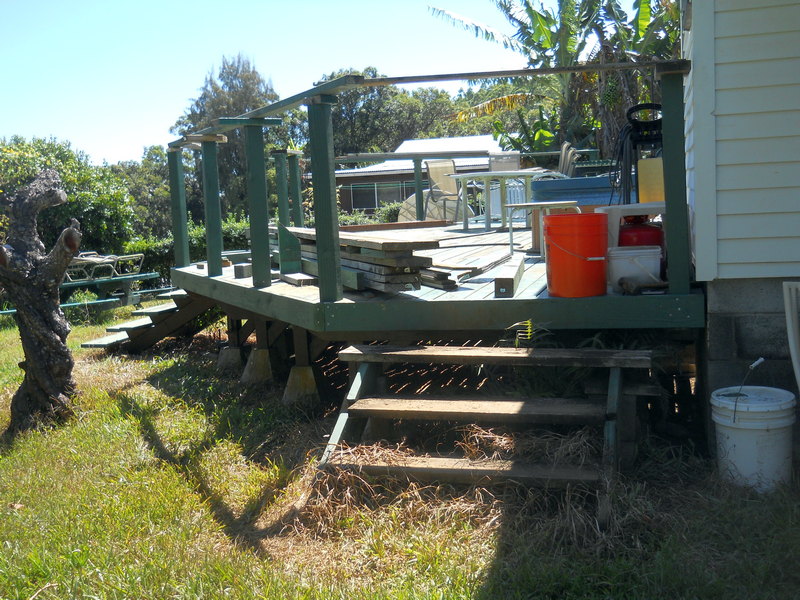
A few posts have been installed along the side and most of the lumber pile is still there as well as the 'temporary' steps are still hanging in there. That's the trouble with 'temporary' things, they have a tendency to be more permanent than temporary.
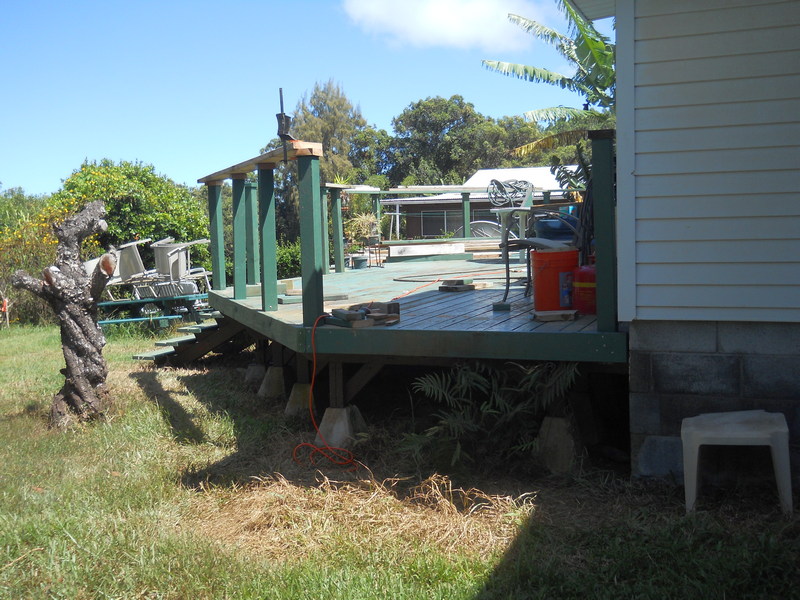
We have finally found out that 'temporary' is about three years long. We weren't sure if we were going to build new steps there or not, but what with all the weeds that had been growing there, it didn't look like they'd been in use much. Also, without steps there, it will be a nice corner of the deck to have a sitting area or grill instead of being part of a walkway.
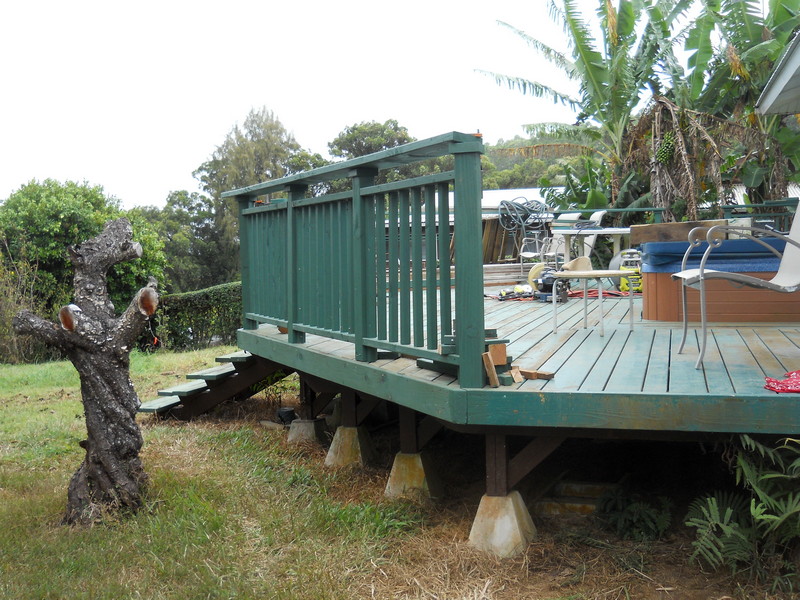
Just keeping up with the viewing the same corner theme. There's a bit of finished railing finally. The steps still don't have the sides added yet so they're still thin looking. There's a bit more flex in them that the edging will fix, too. Plus the steps are supposed to look like they're floating up to the deck and they don't float as well when they're thin.
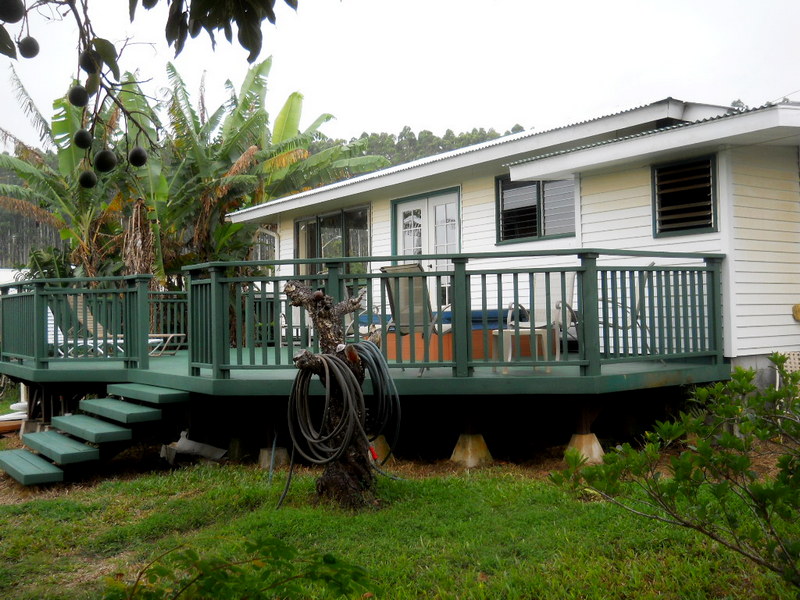
This is a picture of the final finished back deck taken from that side view. I think there was a coat or two of paint that was added after the picture, but this is the finished railings. The steps have their sides added, so they're more solid and have more of the 'floating' look that they're suppposed to have. At some point, there may be a metal handrail added, but at the moment, that's a project on the very bottom of the 'to do' list.
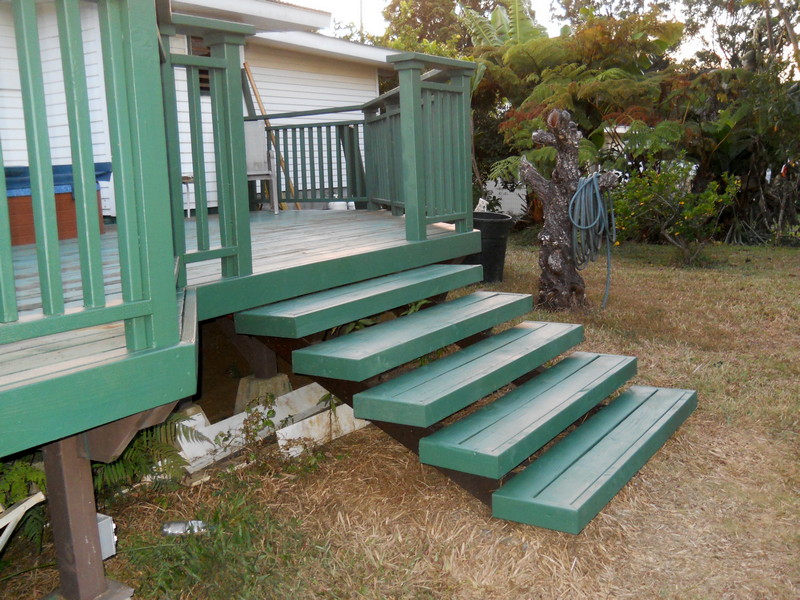
This is the finished 'floating' back steps, these are the main steps going down into the back yard and they're pretty easy to walk up and down since they're shallow and wide. There's another set of steps over on the far side which are narrower although built in the same style. Not sure if a metal pipe for a handrail would be a good thing or not. If a wooden post were used, then there'd be the problem of possible rot with a post in the ground. A galvanized metal pipe would last a lot longer, although may not look as nice. Still not sure if it needs one or what it should look like if it does need one so that can be a project to be figured out later if it needs it.
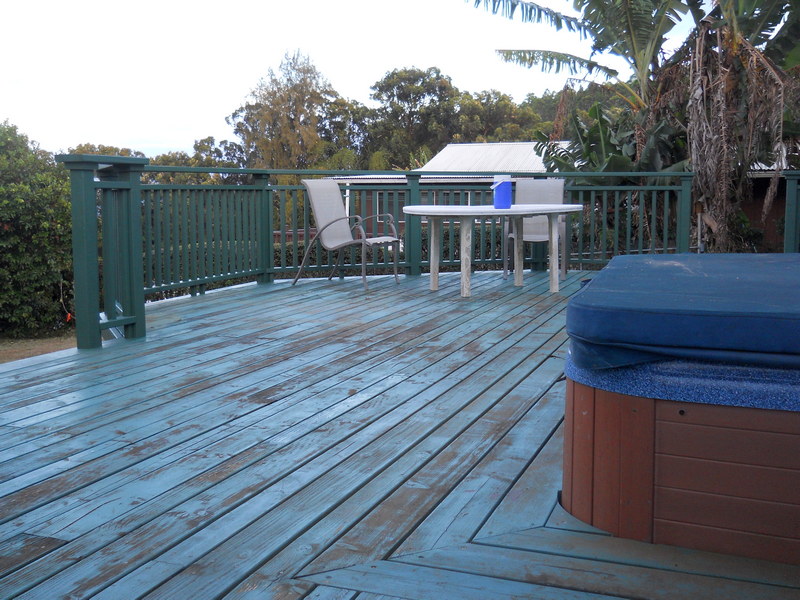
The decking still needs a coat of paint in this picture. It had faded quite a bit in the three years since it was painted. We used better paint this time and added three coats instead of just one. Hopefully it will stay a nice dark green and not fade to a strange blue color.
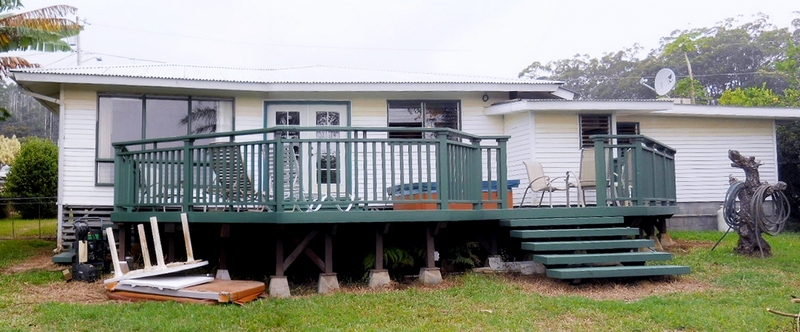
Seems like there's always something that needs doing, in this case we need to find somewhere for the smaller hot tub cover to be stored. It's actually the one that fits, but the bigger one is in better condition so it's on the tub and the original cover hasn't been stashed anywhere yet.
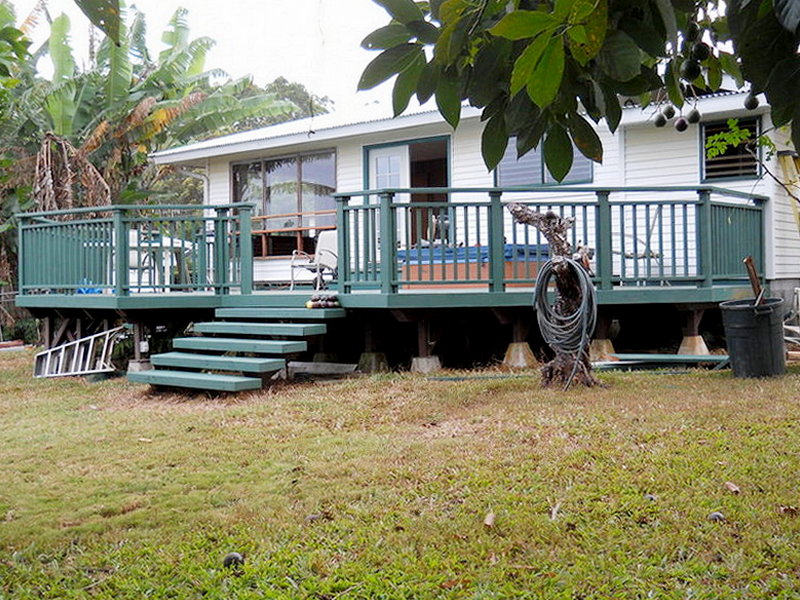
Finally finished with the back deck. It only took a few years! You may notice that part of the project included changing out a window to a French door. We'd found the French door at our local transfer station (dump), the same place we get refrigerator racks to build bunny hutch doors. Someone dropped it off there and it hadn't ever been installed. It's amazing what some folks throw out. We'd had it stored with the lumber collection for awhile since we weren't certain what to do with it. I think this was a perfect place to use it.
Well, enough pictures of the back deck, that project is done so now I can go out and play with bunnies instead. Since tomorrow is Halloween, maybe we can show them some scenes from Monty Python's Holy Grail (for those of you who are familiar with old pictures). The Rabbit of Caerbannog (killer bunny) is in that movie.