November 16th, 2019
Restoration Continues
good thing it's a small house!
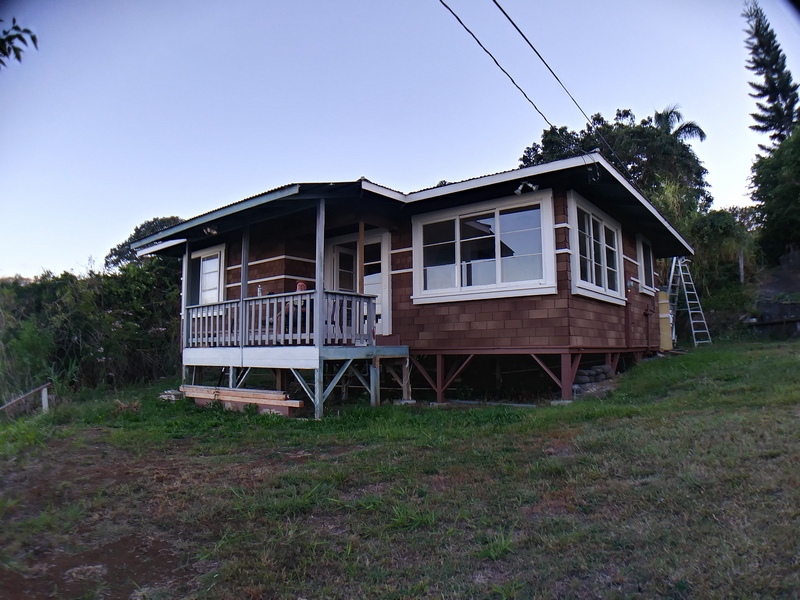
Done with shingles on the front of the house
Another month and we're still working on the little house. There's probably another month or two before it gets close to being done. But, we don't work fast so hopefully we will at least be relentless. We do keep taking days off occasionally, though, that doesn't help the project get done faster, either. Oh well, eventually it may get done.
This first picture is of the front of the house with most if not all of the shingling done. I don't know if the lanai itself will have any shingles on it or not. Guess we will find out pretty soon if it's gonna have more shingles or not. The front lanai may be the next part of the project. Not quite sure about that at this moment.
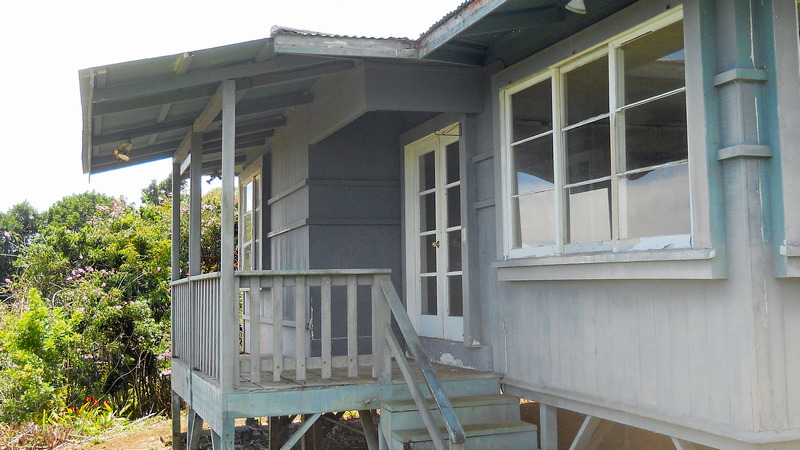
The front lanai 'start' picture
This is the front lanai when we bought the house. There's about a ten inch to one foot first step out the door to the floor of the lanai. If we were going to leave the lanai as is, we'd at least add a step in there. BUT! No worries, I think the whole lanai is gonna be replaced.
The steps were all rotted so they've already been removed by the time this picture was taken. There was a set of steps on the other side of the lanai but they were off when we bought the house so there was only one set to remove. A new set will be built for the new lanai, but until the new lanai is built we can't build new steps to it.
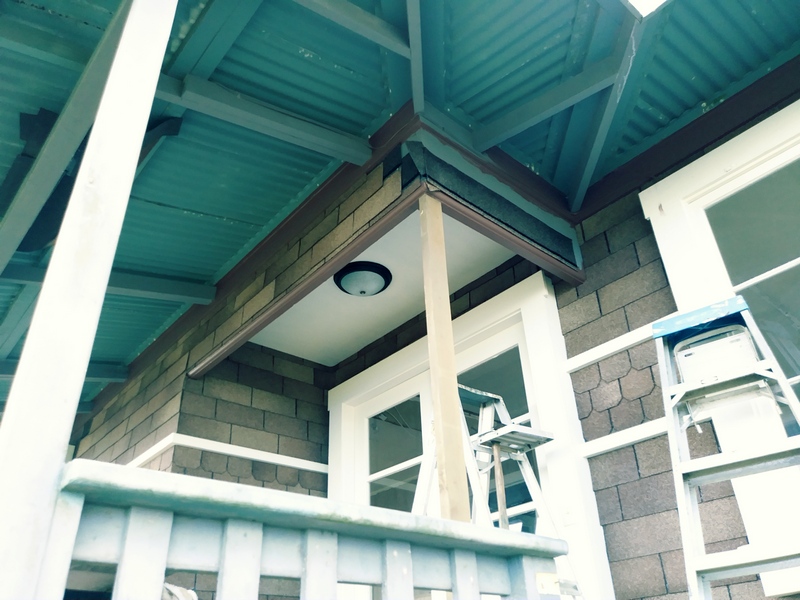
Missing post
I'm not sure what the technical name is for that little bit of dropped wall from the top of the lanai ceiling. Originally, there was a handy post at the corner. Which helped hold up the end of the valley rafter which comes down at that point. The roof is still up there, but it was lower than it should have been by several inches. At the moment, there's a handy 2" x 4" standing in for the missing post. The shingles have been finished up in that area, although they were still under installation when this picture was taken.
When the lanai is replaced, it will be slightly reconfigured so there will be a post in that spot again. There's several soft spots in the lanai floor as well as it being too low from the interior floor, so may as well just redo the whole thing. Gonna be a bit of work, but should be a fun project, though. At least, I sure hope so!
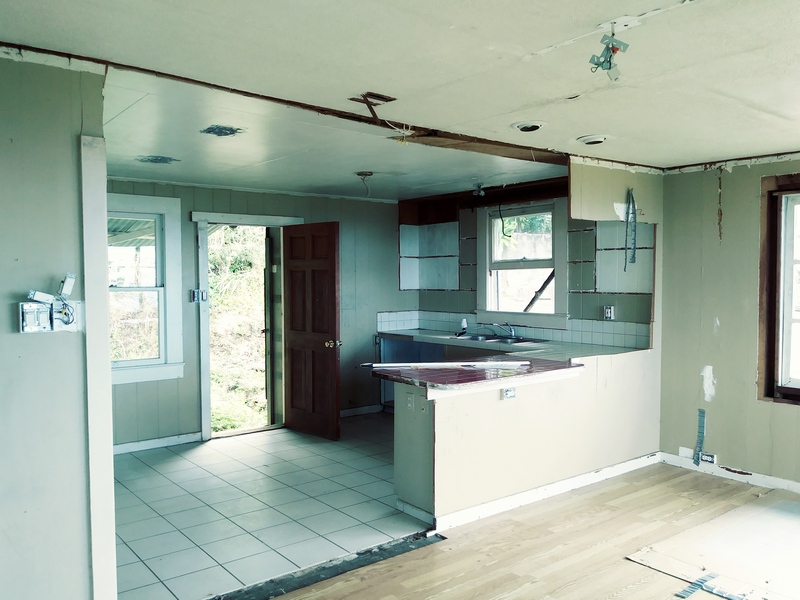
The 'before' kitchen picture
This is a picture from before we bought the house, the Realtor's paperwork is still on the red tile counter top, the stick is still holding the window open, the ceiling is still down by about 3", the kitchen cabinest still have no doors. Poor kitchen! Needs help.
Good thing we didn't make a list of all the things that needed to be done to this poor little house, had we have had a list in front of us at the time we probably would have run for the hills while screaming. A lot of the things we've found while working on it, although we didn't really check things thoroughly since as everyone knows, the location is one of the most important things about a house. We can fix pretty much everything but that.
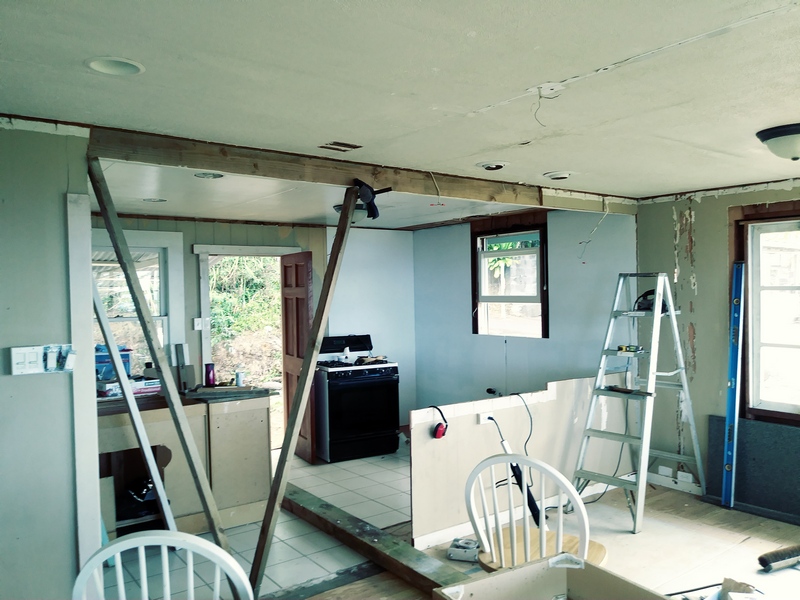
Up with the Ceiling!
Structural things first, so we pushed the ceiling back up and put a beam there to keep it up. Putting that beam there brought some of the outer walls back into vertical, too, so that's a good thing. All walls in this type of house (single wall construction) is basically a structural wall. Even the trim can be structural when the walls are only made of one layer of tongue and groove boards.
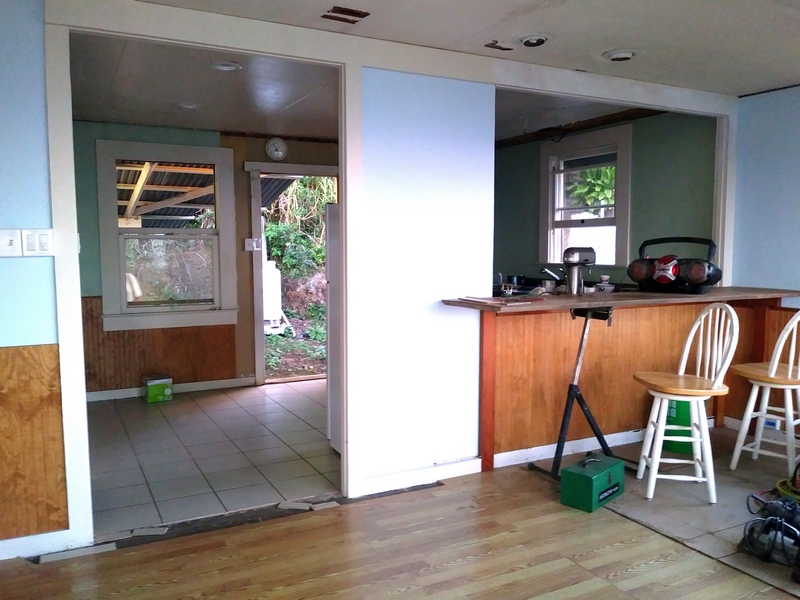
kitchen getting better
It also seemed too open with no real wall at all between the kitchen and living room, so a bit of wall was added. That wall also holds up the beam, so it's a multi-purpose kinda wall. At the moment, the eating ledge is just kinda hanging out on top of the chopsaw support, that silky oak board will eventually be cut to fit the opening and officially installed as a slightly smaller eating ledge. The wainscotting has also been installed across that bit of wall, but it's not in the picture yet. I should find a picture of it, it looks really nice on the inside where the wainscot has been installed.
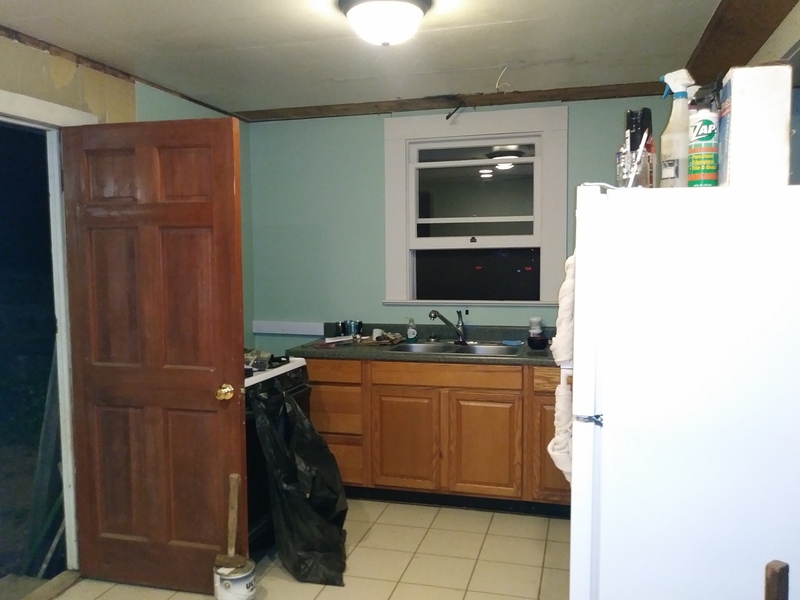
Awkward kitchen layout
looming fridge! blocked counter!
(still need to finish the bottom window trim, too)
This is the annoying kitchen layout that started the whole refrigerator niche episode.
This is how it was and this kitchen layout had been annoying me for awhile. It's not a big house so it's not a big kitchen. Having the refrigerator up against the back of that little wall we built pretty much meant that the kitchen was basically dominated by a big white refrigerator box. Visually, it was huge and separated the kitchen into two separate sections. Also, having the stove behind the door isn't good, either. It blocks part of what little counter there is as well as has pans on a hot stove right behind the back door.
So, obviously, we need a 'refrigerator niche"!
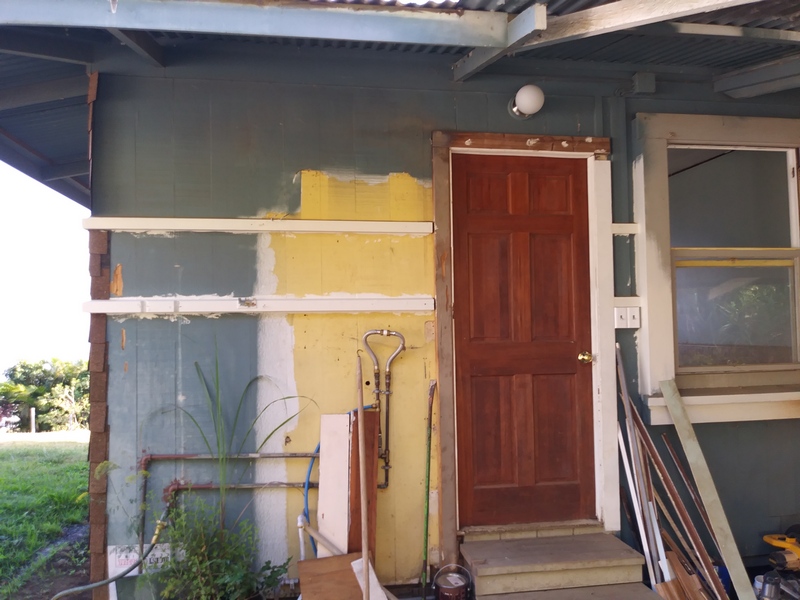
Will a niche fit here?
A refrigerator niche? No problem? Cut a hole in the wall, add a bit of floor, a few walls, etc., etc. Will it fit? Is there enough room? Hmm, and yet another set of steps that needs replacing. Sigh! One thing leads to another with this project. Good thing we're not paying anyone to do the work, we'd not be able to afford it. By only having to buy materials and having already having a lot of it on hand, the whole restoration project has not been all that expensive. Well, at least, as far as construction projects go.
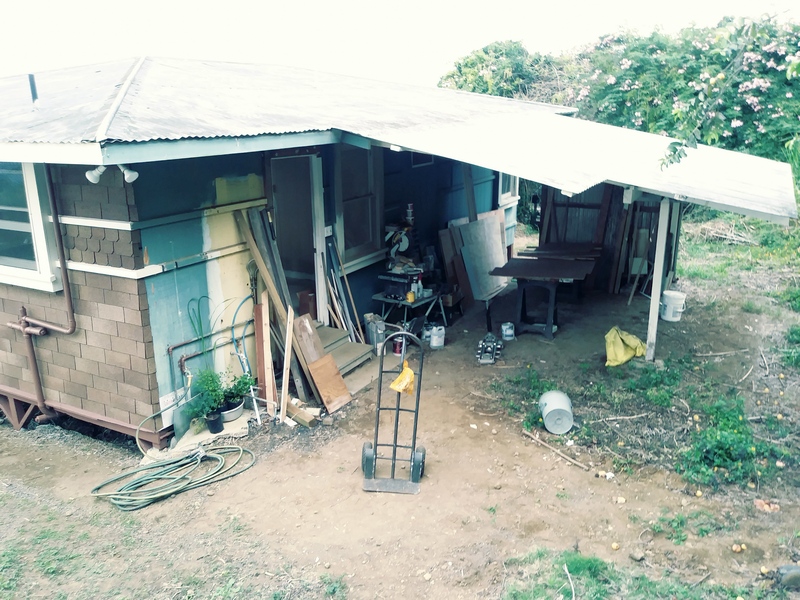
Whole back of house before the niche
This picture shows more of the back of the house so you'll have an idea of where the fridge niche is being built. The fridge niche needs to go next to the door so there will be space for the water heater on the other side of the niche and for the kitchen counter on the inside of the house. It's a pretty small house so there's not a lot of room, but it should work.
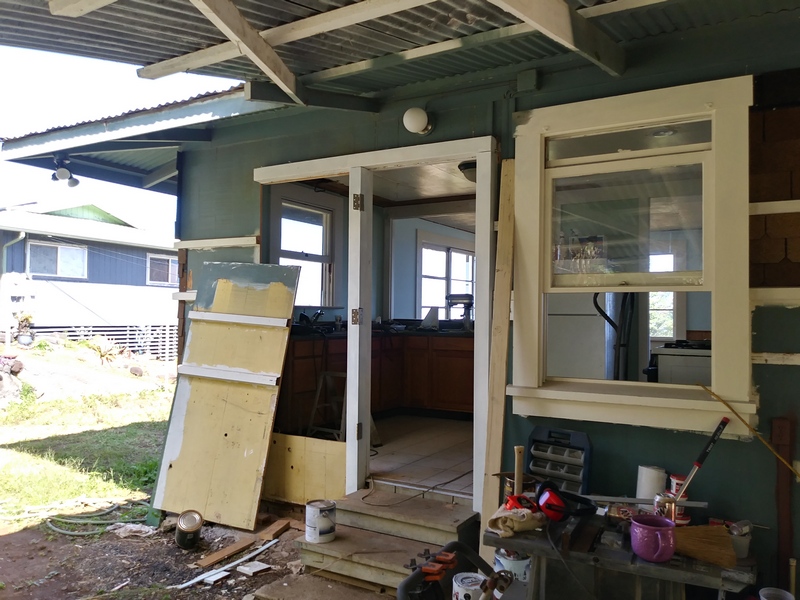
Hole in the Wall! Woot!
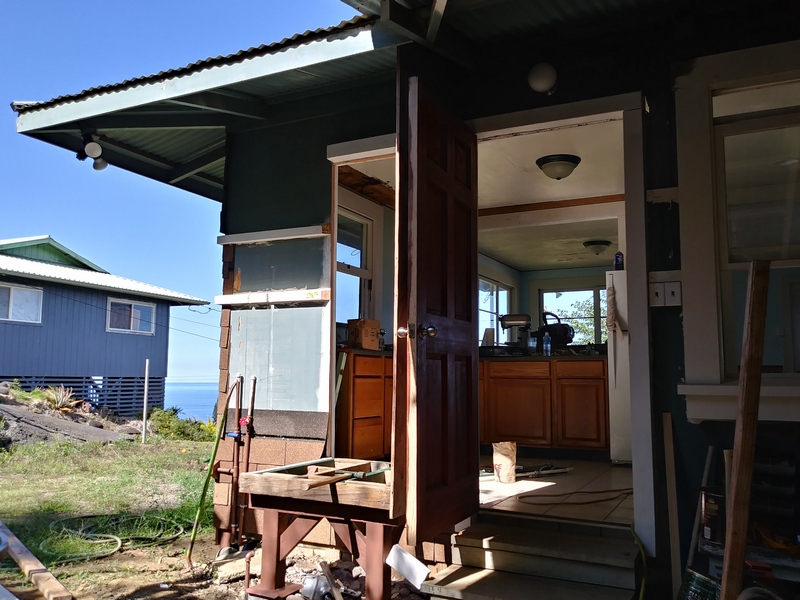
At this point, the door has been reframed so it swings outward, there's a 4" x 4" header above to stiffen the wall and there's a big hole cut in the wall. Kinda fun in a weird way to take a circular saw and make a big hole in a wall.
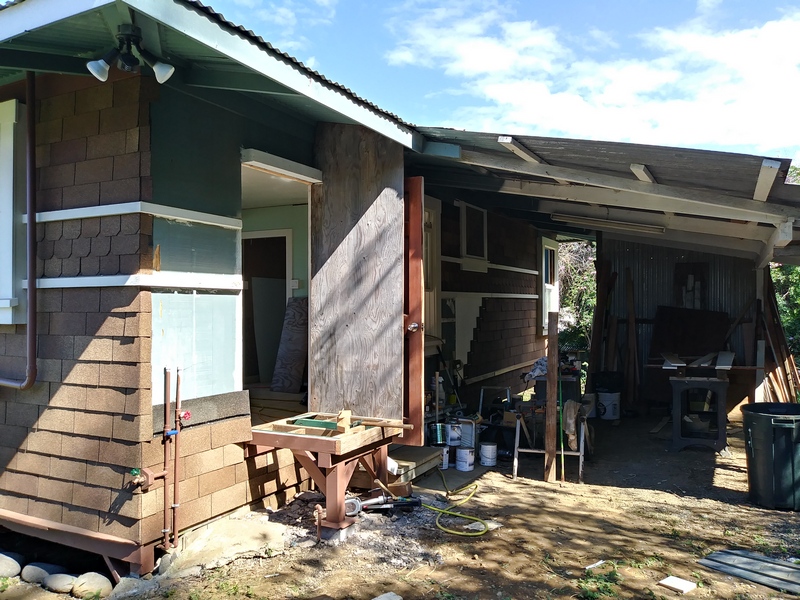
Hole in the wall with platform beginning
start at the bottom and work up
A lot of this stuff is sort of figured out on the fly but it's also pretty straight forward. Start at the bottom and work up til it's done, more or less.
Same picture, different angle
(hard to fit much in one picture)
The door swing had to be figured into the project. We didn't want the door knob to hit the refrigerator niche. Also the roof eaves of the niche need to clear the door swing as well. So the height of the wall, the depth of the wall are all fairly critical dimensions. Good thing the door was right there so we could measure it.
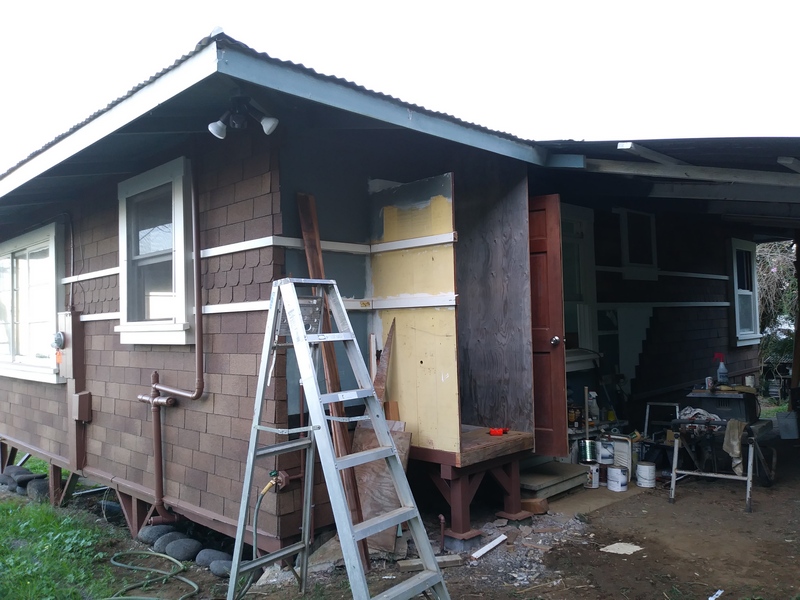
Wall #2 for the niche
Since we had just cut a big hole out of the wall, we had a big piece of wall available to use as a wall for the refrigerator niche. It already was complete with 'racing stripes', too!
Technically, those 'racing stripes' are 'bellybands' and they are there to hold the tongue and groove walls together. Picked out in white, they make a striking trim for the house, I think. So obviously, we will need racing stripes for our refrigerator niche. Ha! (It's kinda jolly when one doesn't have to take one's construction project very seriously.)
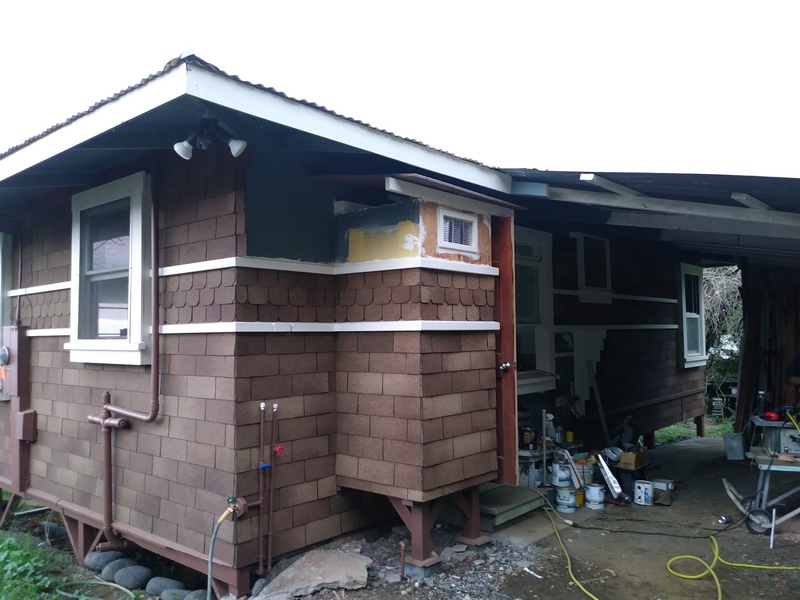
Niche walls!
and more of those shingles, too
It was kinda fussy to get the walls fitted in so it would fit in with the door and the counter and the refrigerator, too. Then they had to get racing stripes to match the other walls of the house. And more of those pesky shingles. I'm still not officially done with those pesky shingles, but it's at least getting close to being done.
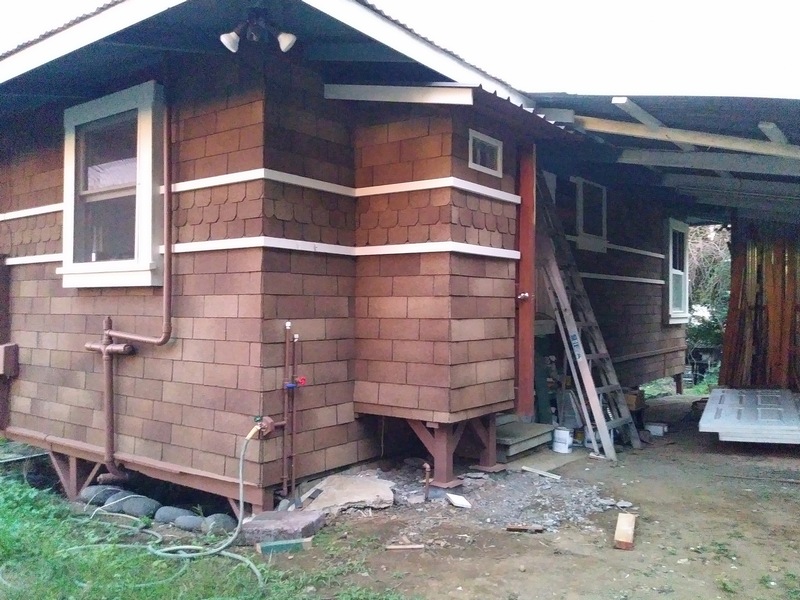
Niche walls and roof!
still need more roof trim, though
Technically, it still isn't officially 'done'. There's some roof trim to install and about two shingles worth of filling in on the other side that you can't see. But, it's getting close. Close enough to go inside and shove the fridge into it, at least!
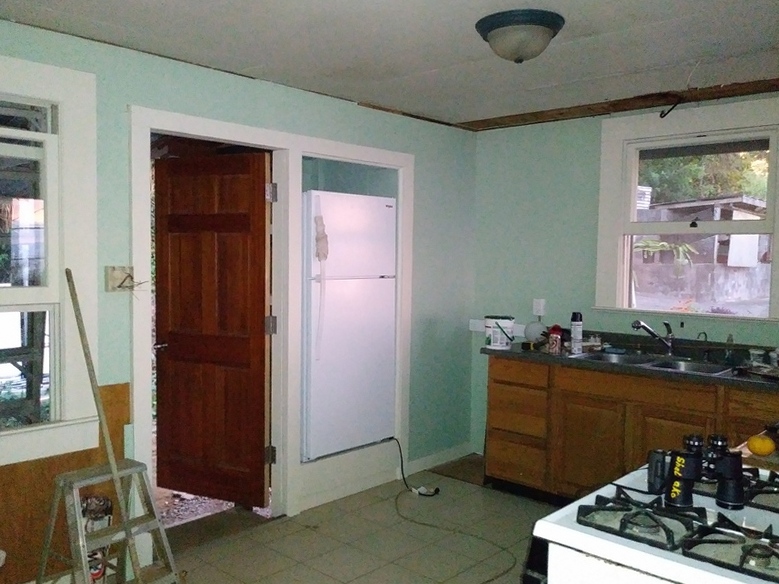
Poof! Vanishing fridge!
(still need that trim under the window, too)
Getting that fridge under control took two weeks of work, but hopefully it was worth it. As you can see, we still haven't switched the fridge hinges to the other side yet. That will make it easy to open the door, take things out and set them on the counter.
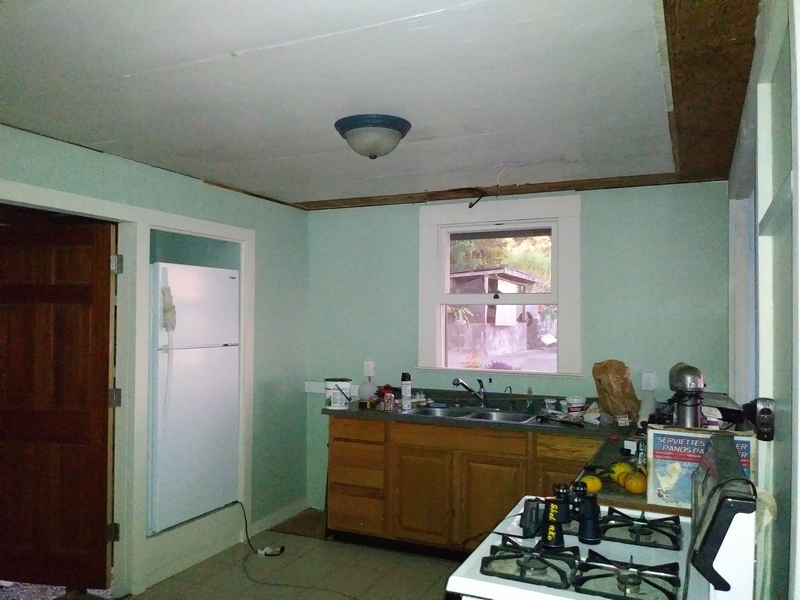
Another view lined up with the new wall
After two weeks worth of work, it's worth at least two pictures.
Visually, the kitchen seems much bigger. More so than the 3' x 3' space gained by shoving the fridge out through the wall. We will have to fill in the end of the counter with something, although we have a granite counter top section which pretty closely matches the other counter top.
Most of our time has been taken up with this little house so not a lot of new bunny news. We're waiting for three litters to show up hopefully late this month. Hopefully tomorrow I'll be able to have a 'bunny day'.


