Covid Continues! Arrrgh!
Virus variations suck.
Well, still get your vaccination! Yeah, I know, it sucks, it's scary, you never get vaccines, but do it anyway. Soon, if everyone does their part, we will hopefully be done with this wretched virus. So hang in there and keep keeping on, I really hope it can't last forever.
December 22nd, 2021
Finally Finished
It's been crazy busy on this side of the screen.
It's been crazy busy on this side of the screen.
Not that you can tell much of what's happening on this side of the screen, but it's been crazy busy for the past few months. All of a sudden everyone seems to want to build something and my 'real' job is drawing up blueprints and there hasn't been much time to update this webpage.
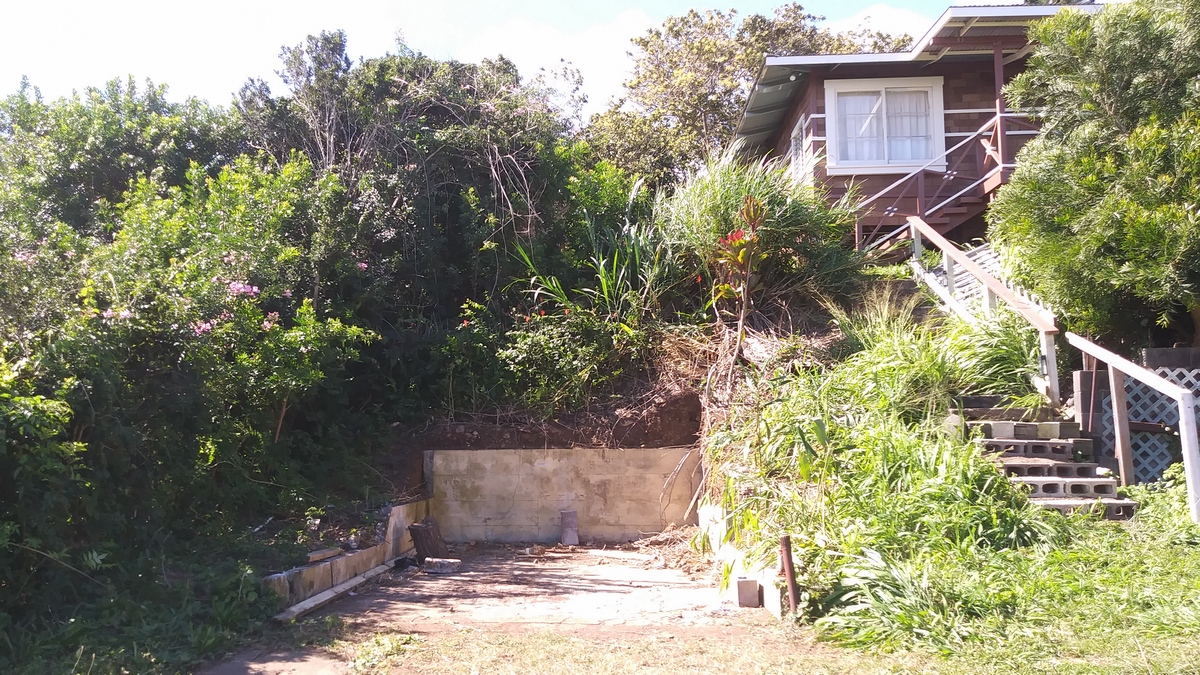
The biggest change this year has been the installation of the driveway. I think that had been mentioned in the last update, but it's probably been the project that has made the most difference. We started out without any access to the back of the Little House as well as no access to The Workshop up in the back. When The Workshop was originally planned before we bought the property, it was owned by the neighbors on the other side so the access was via their property and not on the actual lot that the Little House and the Workshop are on.
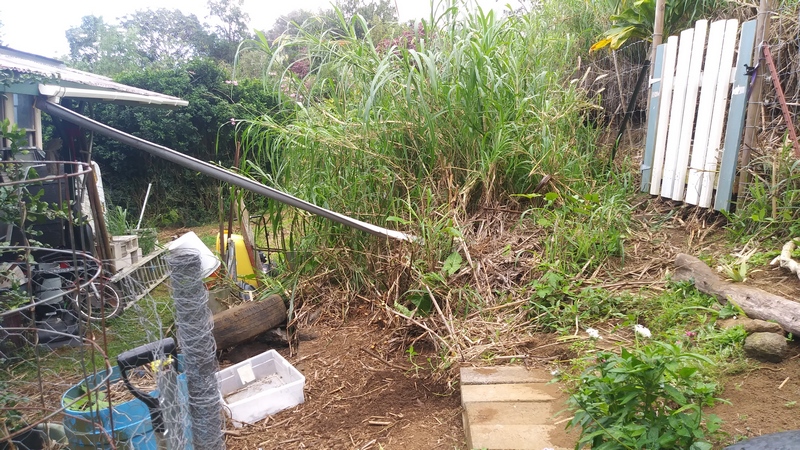
This is the 'before' picture after we took down the old carport that had been there. It was mostly made of tin roofing which had more rust than anything else although I would have liked to have kept it if possible and fixed it up but there wasn't any other location for the driveway. Those crooked steps are the only access up to the Little House and not a good thing when carrying anything.
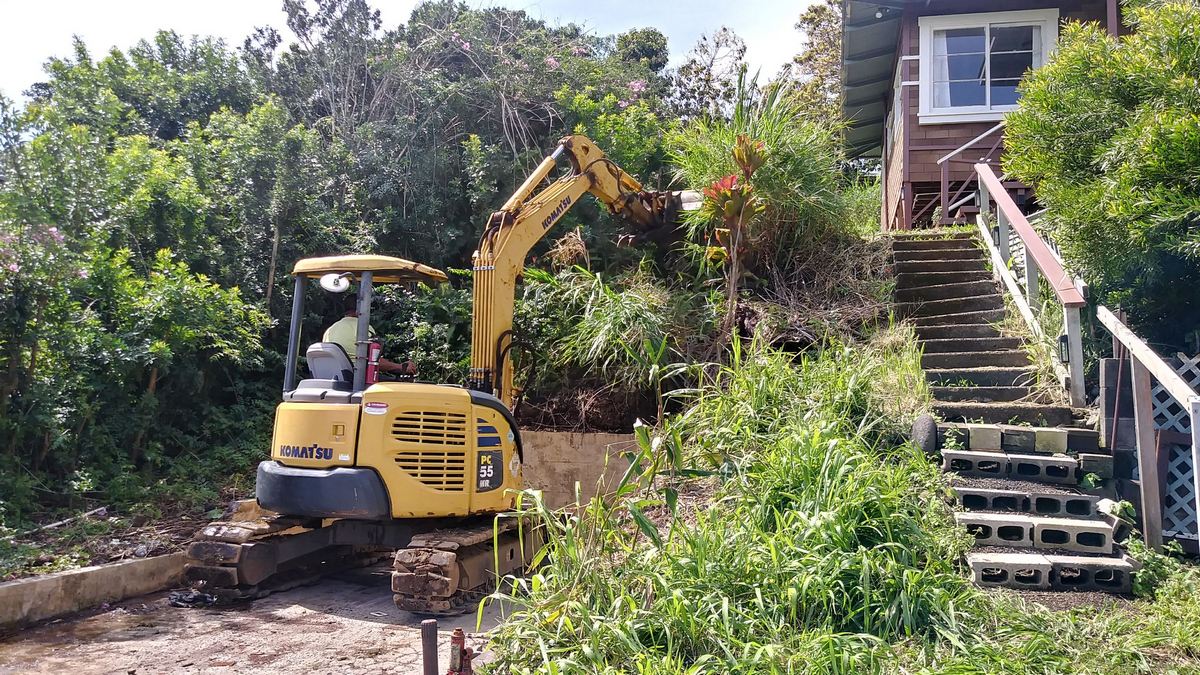
The excavator was here for about three weeks and there was another little skid steer along with several big trucks hauling in gravel and hauling out rubbish. They not only did the driveway but landscaping and clearing.
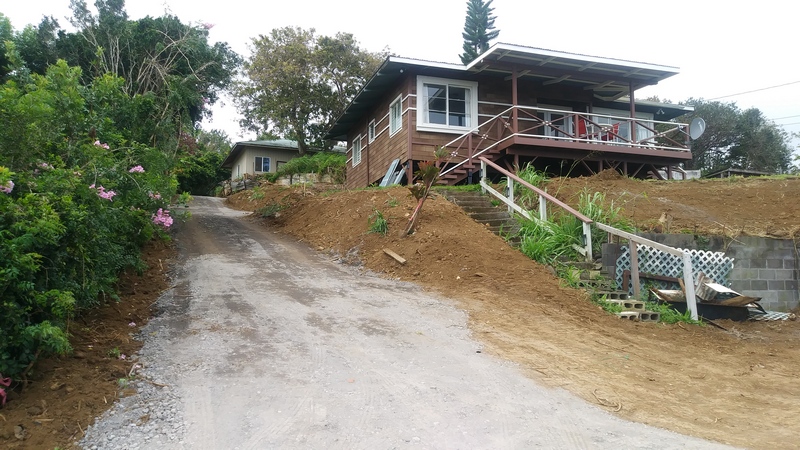
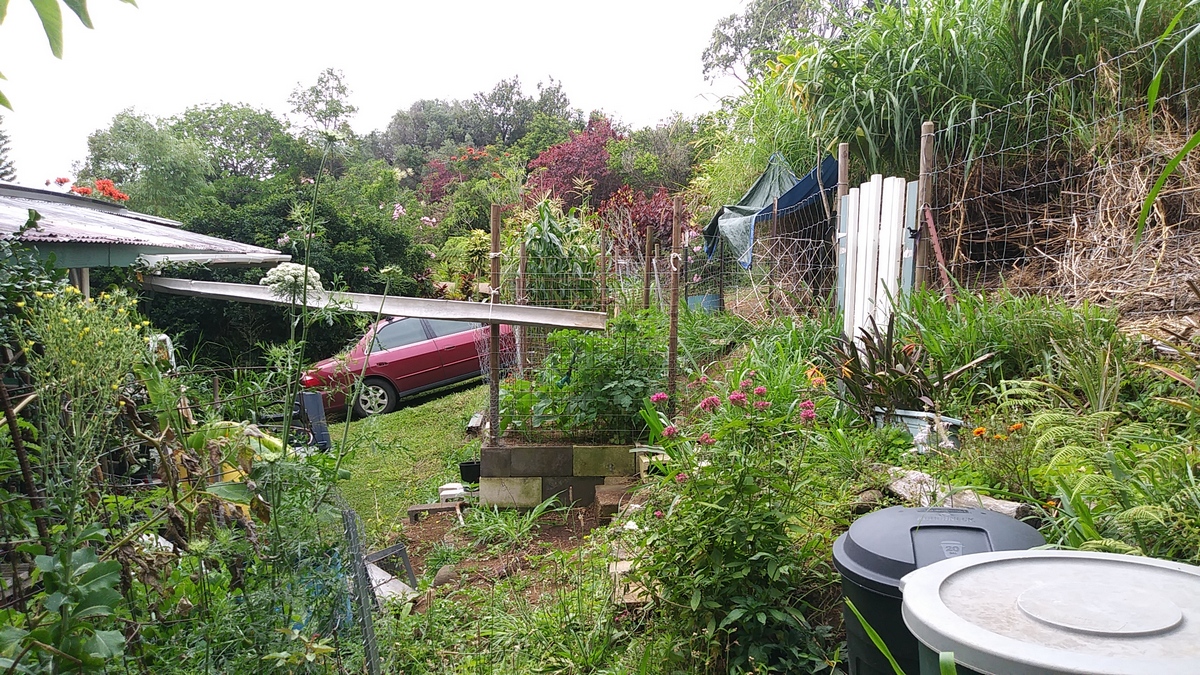
This is the newly finished driveway. Nice fresh gravel, fresh soil in the yard. It's actually amazingly tidy for an 'after' picture of big equipment.
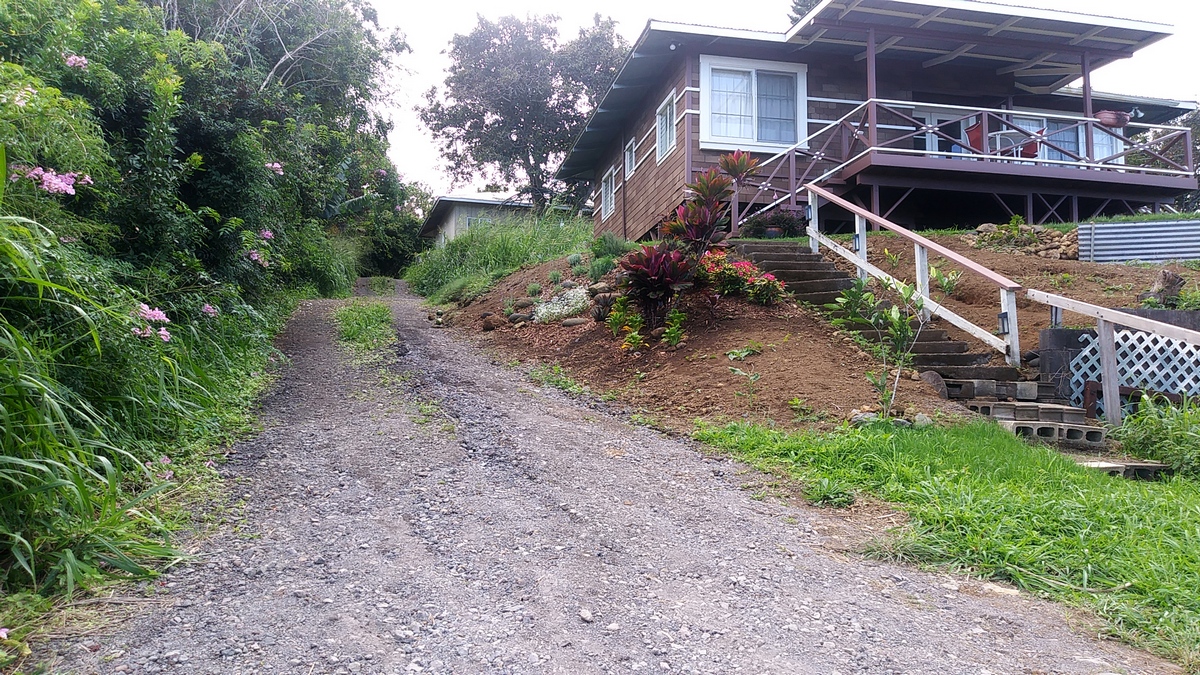
In this picture you can see the bank of Guinea grass that has grown up from last May to November. It grows that much in six or seven months and is the bane of our existence here. It was originally imported to grow grass for cattle, but it got out of the cattle pastures and is all over the place now. Wretched stuff is almost impossible to keep down. Also in the picture is the 'Pink Creeper Crap' which is actually Pink Trumpet Vine, but that's another really crazy invasive thing we fight back out in the yard. We need to figure out how to deploy the sheep at it, but the sheep still haven't flattened all the Guinea grass in their sheep pasture.
The April blog has more pictures of the previous carport along with some of it's deconstruction.
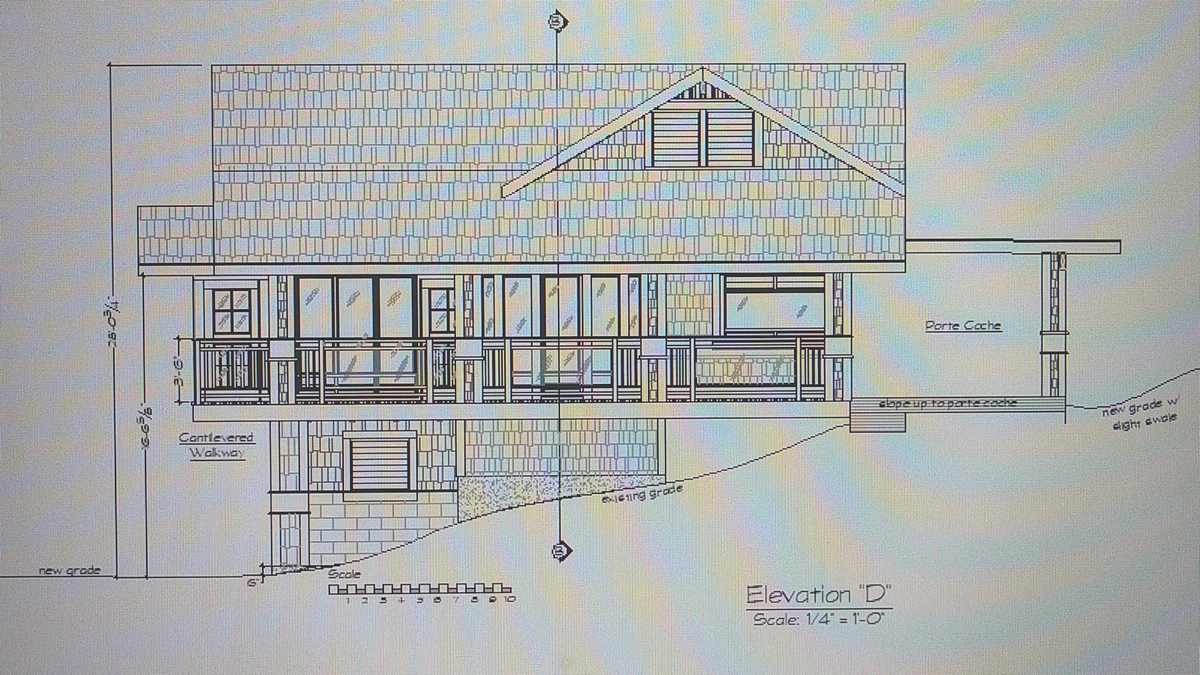
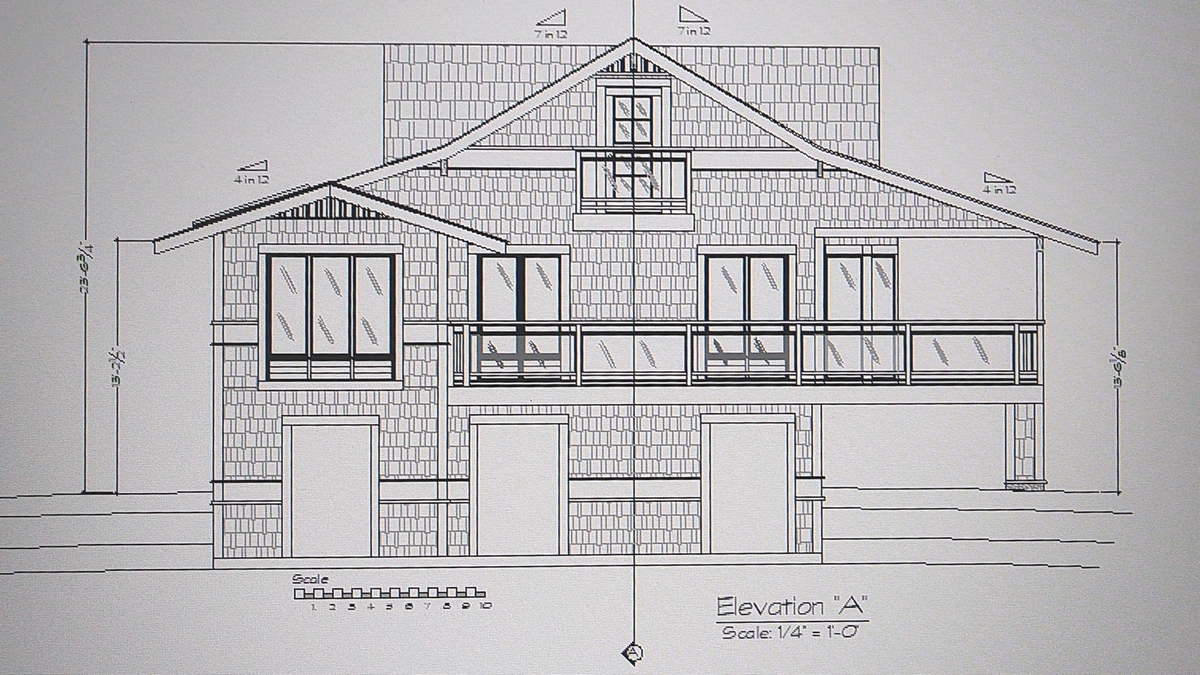
As I mentioned earlier, my real job is drawing blueprints. There have been three major projects drawn up since the last website update from last April. The third project was a new 'ohana' - that's Hawaiian for a house for a family member - here for us. It's kinda nice to look forward to a new house. Here's some drawings of our new upcoming project:
These are construction drawings so they aren't the pretty 3D drawings some folks do to show prospective clients. Hopefully they will give you an idea of what we're hoping to build. This will be at the top of the driveway and to the left so it will be at the same level as the Workshop. At some point we will have to rearrange the property lines so the driveway will be on the same property as the new house but we will build the house first.
This drawing shows the Waipio side of the house. Island folks don't really use 'North', 'South', etc., since the island is basically round and those directions are hard to keep track of. We use 'mauka' which means 'mountain side', 'makai' which is 'ocean side' and then use landmarks for the other two directions. In this location the other two directions would be 'Hilo' or 'Waimea' although 'Waipio' also works for the Waimea side.
This will be the entry from the top of the driveway. Drive into the porte coche on the mauka side of the house and it should be dead level with the interior floor. It's a covered porte coche with a slight slope towards the back to keep the house from flooding. There may be a drain grate between the porte coche and the house as well. No steps into the house and covered parking are the main things we're trying to achieve.
Also, since this is the windward side of the house, there's a huge lanai along the side of the house. That looks towards the Workshop as well as the Avocado Plateau and Maui as well. Plus the ocean, there's an expansive ocean view from the lanai and front walkway. The cantilevered walkway across the front of the house is mostly to give us a way to wash the windows on the exterior of the house. When it was originally put in, it went to the dining room, but that was several designs ago. Now it goes to the second bedroom which can also be part of the living room, so maybe it's the 'music room' or some such. The long window is the kitchen sink window, there's a dormer in the loft above and below the house is a concrete floored extra space. It's called out as a 'yoga area' on the plans, it may be an exercise area, might be another workshop, hard to tell just yet. The window in the middle of the lanai is a big curved bump out for the dining room, that's more visible on the floor plan.
As of the first week of December, the drawings had been 'done', but then it was around 3,000 square feet since we'd kept adding in things that would be nice to have. (Such as an elevator between the lower floor, the main floor and the loft). However, after a quick construction cost analysis, it was redrawn down to 2,000 square feet. Every time it gets redrawn, it improves. I switched the kitchen from the front Hilo makai corner to the back mauka Waipio corner so groceries could be taken directly from the porte coche into the kitchen. Less of an ocean view from the kitchen sink, but will be more user friendly for moving things in and out. That front corner is now a guest room that can double as living room space when some moving walls are opened.
This is the drawing of the front of the house. The guest room at the left side of the drawing should have a lovely ocean view. That has the big three section window. The railing along the walkway has big glass panels in it since that is the view from the living room. On the lanai is the dining room window bump out so the lanai is actually about as wide as one third of the house. The dining room window sticking out in the middle of the lanai makes it look narrower.
The doorway at the top peak of the roof is for the Crow's Nest Lanai. It is actually a front wall brace, but instead of having a big brace up there, the stair landing to the loft was extended across the living room instead to brace the front wall. The living room ceiling is a cathedral ceiling and about eighteen feet high at the center roof ridge. The catwalk across to the Crow's Nest lanai will also have glass railings so it won't be as looming as it would otherwise be. Should have some really nice views from the Crow's Nest, although it's a very small lanai. There will probably only be room for two small seats and a small table. It will brace the front wall nicely, though.
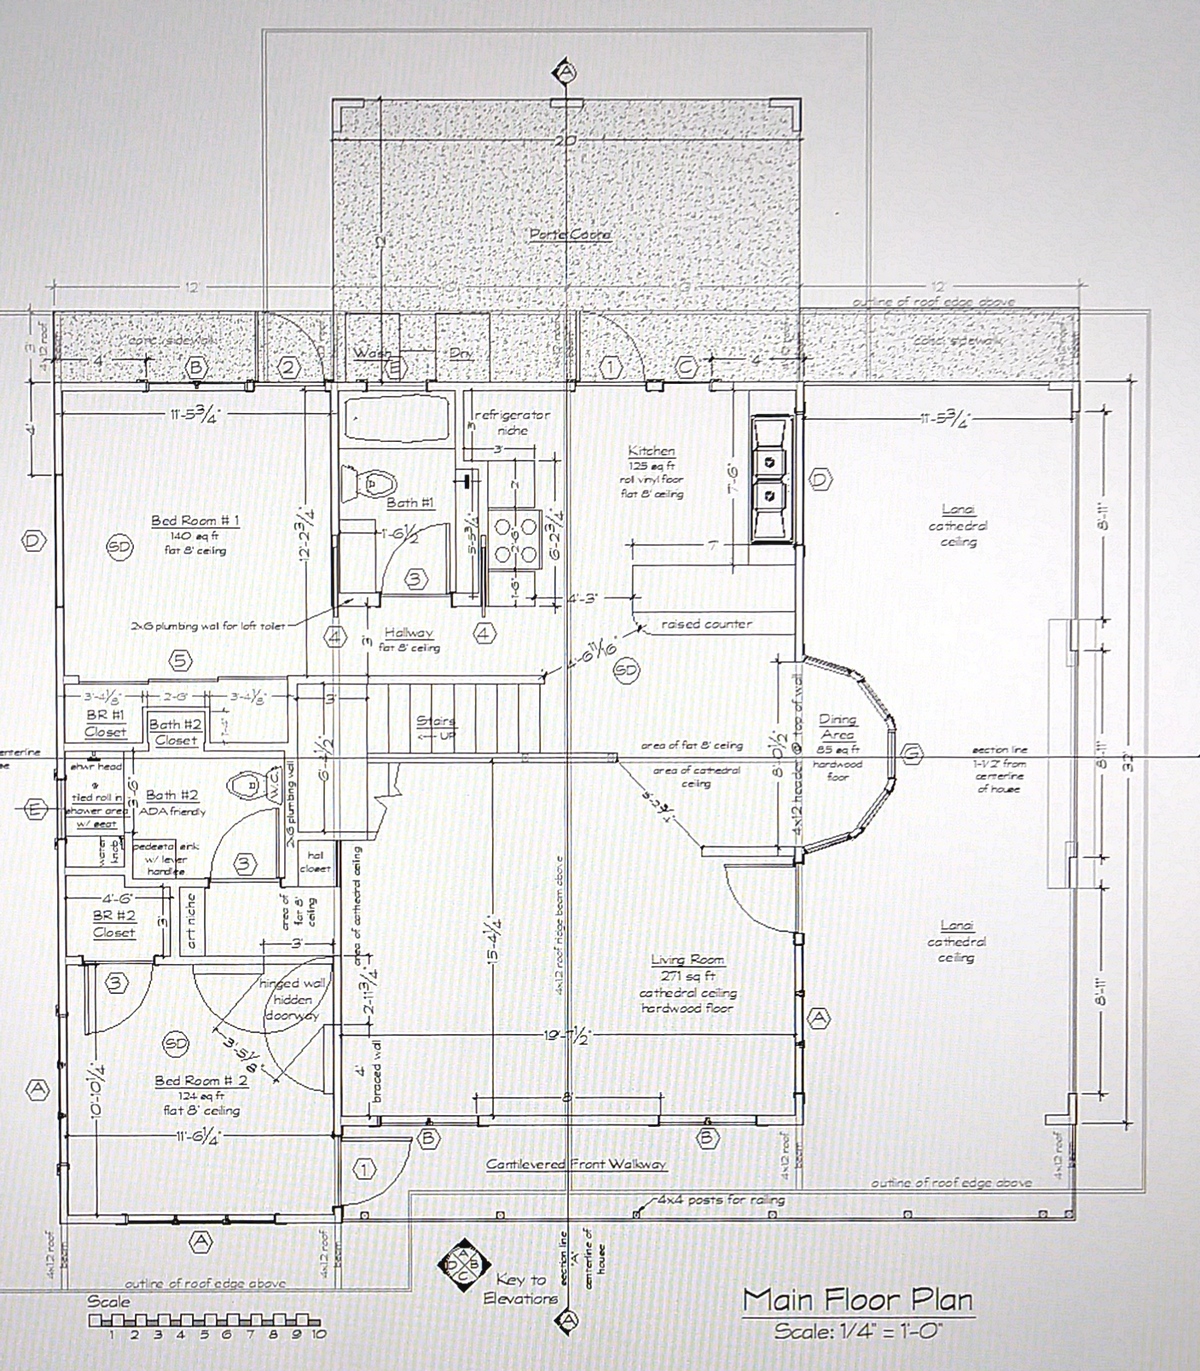
This is the main floor plan of the new ohana. The mountains are at the top, the ocean is at the bottom of the picture. Drive into the porte coche and either directly into the kitchen (which will probably be the usual entrance to the house). Or walk onto the lanai - which will be at the same elevation as the floor of the house - and go to the front door just past the dining room window bump out. The windows are big sheets of flat glass with louvers below for ventilation. The fixed glass has views that are clear and not distored by screens. All the windows in the house are either fixed glass or louvers, no vinyl trimmed anything.
From the kitchen, it goes either into a hallway to the main bedroom with an ensuite bath that can also be a general use bath. There's a pocket door on either side of the bathroom door so it can be either private or not. The steps up go to the loft and they are behind a wall on the kitchen side and once they get to the landing, they go through a doorway partway up on the living room wall and then continue up to the loft as cantilevered stairs so there's no wall below the stairs on the living room side. Should be a nice sitting nook there under the stairs. The big TV will be on the mauka wall there so a sitting nook under the cantilevered stairs will be perfect for TV watching.
The front bedroom can either be a guest room or part of the living room depending on which doors are opened. The bedrooms have flat ceilings at 8' high. The living room has a high cathedral ceiling with the catwalk running across it.
The main bedroom has a door out to the back to the washer and dryer under the porte coche roof. That can either have a flat 8' ceiling or cathedral ceiling in there. We will probably decide when framing the house. It's easier to heat a flat ceiling room and it does get coolish here during winter. Most Hawaii houses don't have heaters since they really aren't necessary.
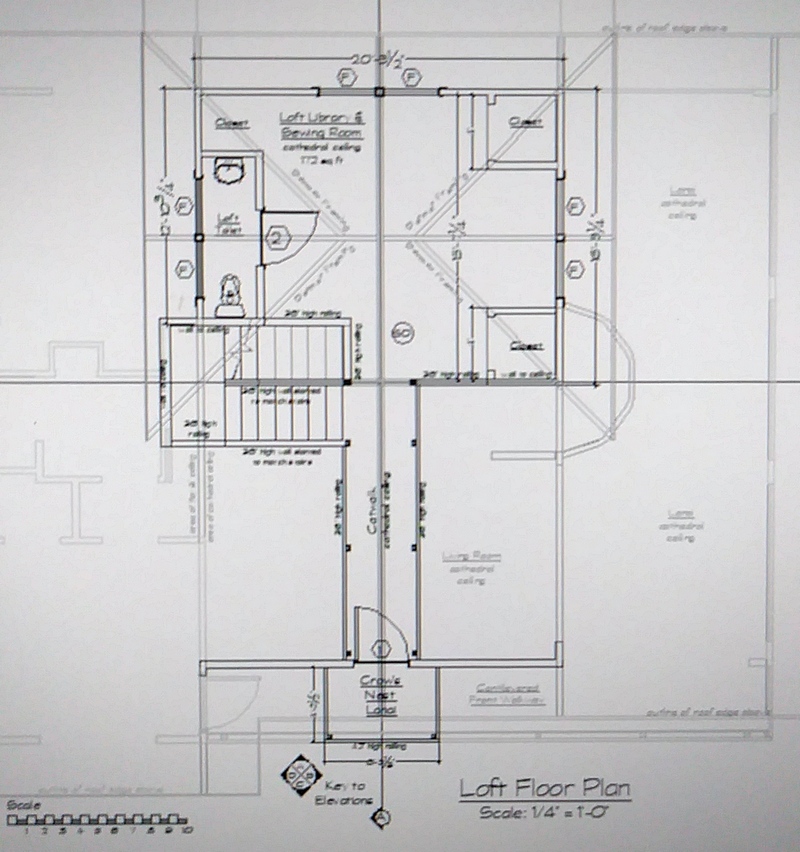
This is the loft, catwalk and Crow's Nest lanai floor plan. The steps come up open to the living room on the second set of stairs. Then, at the top of the stairs, one can either go right along the catwalk out to the small Crow's Nest Lanai while looking down on the living room below or turn left and go into the loft. The front of the loft between the loft and living room is just a railing so it's open to the living room below. There's two dormers up in the loft to give it more light and headspace. One dormer has a toilet and sink in it, the other dormer will probaly have a big built in window seat which will double as a guest bed just in case we need more than one guest room.
So this has been the project that has taken up all my time and why the webpage hasn't been updated since April. Well, this project and several others. There's still a couple more projects waiting to be drawn up, but I'm taking a break for a week for Christmas and getting caught up on things. Which is why there's an update on the webpage. I need to update the upcoming litters page, too.
In bunny news this year, there have been a few litters but not all that many since things have been crazy busy. Back at the end of March, Vanna White had a litter with Vincent, the agouti buck. She had a litter of ten, all blacks except for one white one, one agouti one, one chocolate one and one of an unknown color. Some sort of agouti color pattern because of the white rings around the eyes and white undercarriage, but no rings of color in the wool and an odd color. Looked like a tortoiseshell, but wasn't quite.
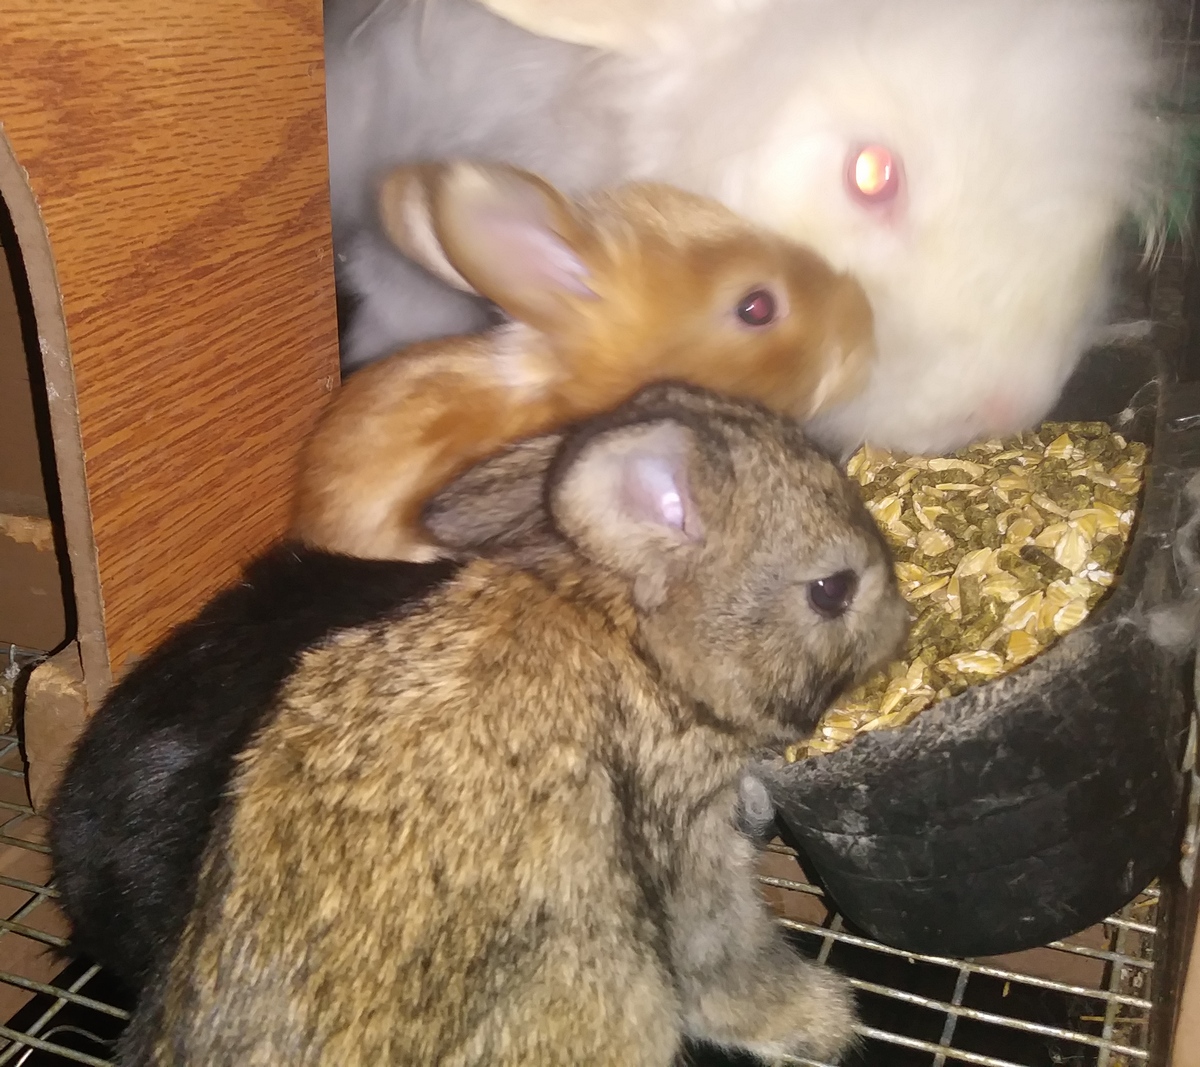
That's a standard agouti color baby, a black, the 'what color is that' and Vanna White. They're just over a month old in that picture.
There were three or four litters early in the year and there were a lot of young bucks. At one point, there were nine all in one big hutch space. Since they weren't fighting, I just let them all live together. Many if not most times, bucks living together will fight but since that didn't seem to be happening, they just hung out together. Things were still crazy busy so things just kinda stayed that way. Eventually, the pile up of bucks was down to just two, the best black one who has been named 'Axial' and the what color is that who has been named 'Amber' because of the color. Amber almost moved away, but things were too busy for him to get shipped.
Two weeks ago, when going out to feed bunnies, there were three new borns in the buck hutch! The genders of the bucks had been determined at an early age, so obviously I was incorrect on one. There hadn't been a nest and the buck hutch isn't rat proof, so none of the three new borns survived. I'd not known Amber was female, let alone that she was pregnant or she would have been in a nesting site and hopefully would have been able to keep the babies.
Bunnies can become pregnant the moment they give birth, so since she'd still been with Axial at that time, I'm assuming she's pregnant again. She's now in a nesting hutch and we are hoping for a litter that survives in mid-January.
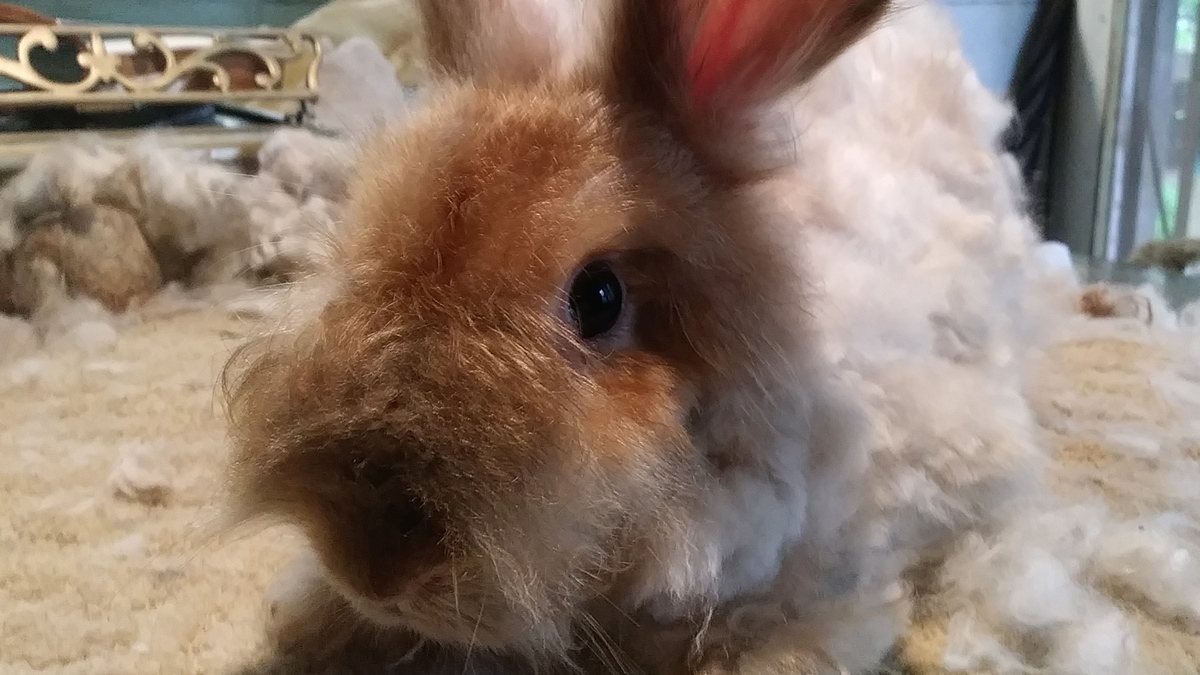
Looking at her color, I think she's what is called a 'red', which is a color we've never had before. I'll have to check her pedigree and try to figure out where that color came from. It's an agouti color but doesn't have the color rings. A_ __ C_ D_ ee + rufus is the genetic color code. I'm thinking she may be chocolate as well and her mom is a 'self' (non-agouti) color as well as an albino so Amber's color code is Aa bb Cc D_ ee + rufus.
Axial is a black with an albino mum, Valkyrie. He is a half sibling to Amber since they both have Vincent as a sire. Their offspring is only 23% inbred so that's below the 25% that I try to keep it under. It's sheer chance that they weren't full siblings, but it's not a bad mating choice.
We will find out in January what colors they may produce. Since we don't know much about Axe's possible recessives other than the one for albino, all we know about possible possibilities is agouti, blacks and albinos.
Gardening went well last summer. At the moment, we are really close to the winter solstice so there's less sunlight. Gardens run on solar power and when there's not much sun, they're really slow. Lettuce, beans and choi sum have been planted, but they're very slow growing this time of year.
The year before last we had a good corn crop using some mainland seed, although I'd chosen a variety that I'd not heard of before. There's a reason varieties are popular! It grew well and produced quite a bit, but it wasn't all that tasty as fresh eating corn.
This year we used seed from the University of Hawaii Seed Program. They have great seeds, non-GMO and open pollinated corn seed. However, they're very old school. You get to download and print the order form and then snail mail it and a check or money order to them on Oahu and they will mail the seeds back. I'm guessing they have a limited amount of seed and don't really want to make it faster or easier to sell the seeds.
They have a yellow corn seed and a silver corn seed so instead of making a choice, I just got some of each. Then, still not really making a decision, it was planted every other row. I'd had one packet of the yellow to start with and that was planted about a week earlier. The first corn was solid yellow and then it became bi-color as the silver corn started pollinating as well as the yellow. It's a very sweet and tasty corn, we will be planting this one again and probably save some seeds from the best ears.
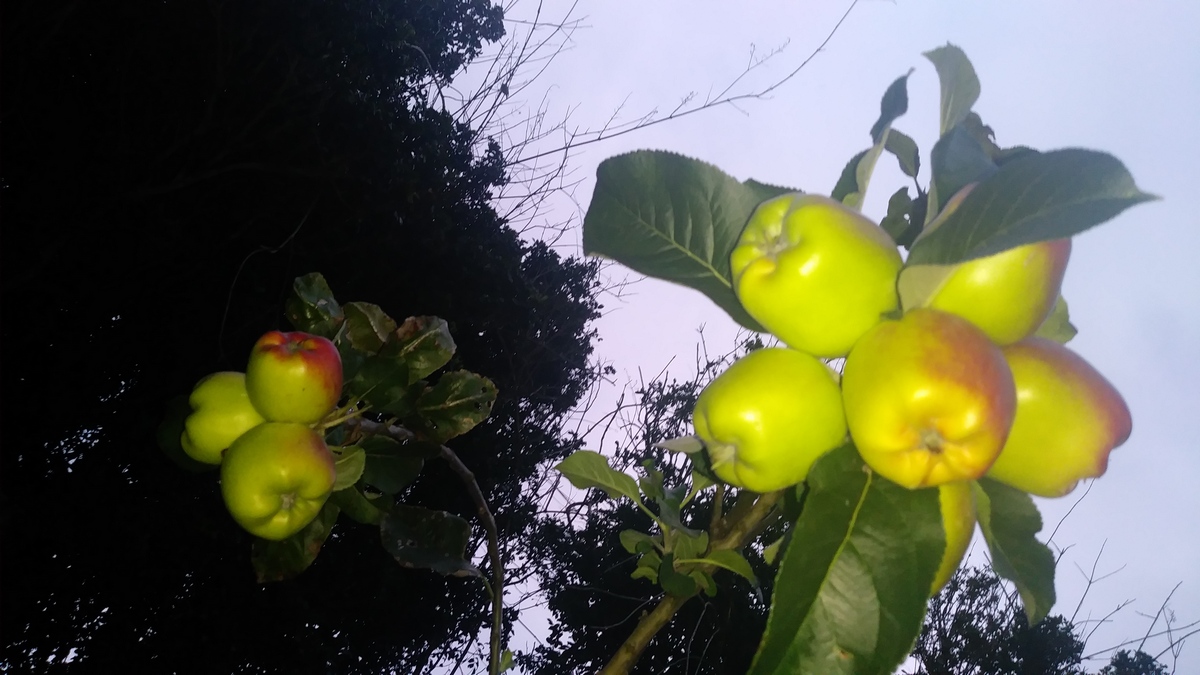
May was a pretty good garden month. The apples were getting ripe on the tree. It's a young tree and this is only the second year we've gotten fruit from it. Last year we got four apples, this year there were eight so the crop doubled in size. Maybe next year we will get sixteen apples?
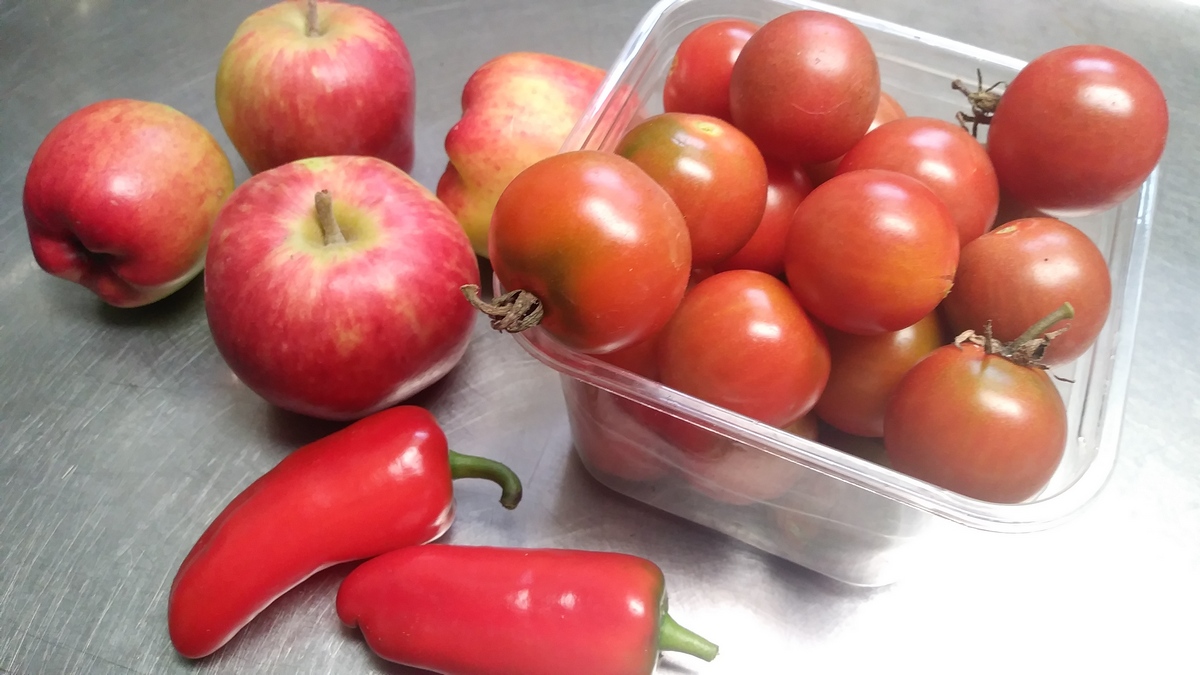
May was a red fruit month. The apples were red Pettingill variety, the tomatoes were some sort of volunteer red cherry and we got some red sweet peppers, too.
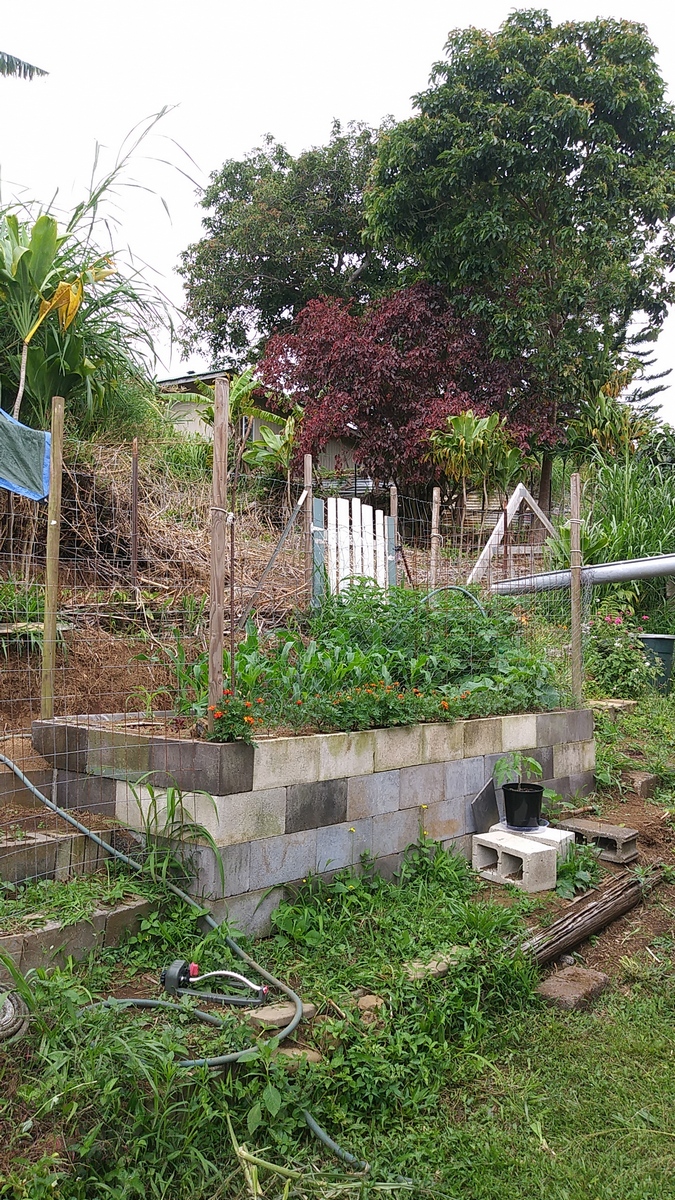
The fourth raised bed garden was finally finished. It had corn and beans and lettuce and then the cherry tomatoes took over. There were enough cherry tomatoes to make ketchup this past summer. The tomatoes are still out there, but they've rambled all over so part of my getting caught up on things will be to whack them back into some sort of semblence of order.
There's the 'before' and 'after' picture, although that was from early last summer, it's now completely over run by that tomato plant. "Indeterminate" tomatoes just keep growing until the frost kills them off, however, around here, we lack frost. Tomatoes will keep going for several years. Same with lima beans, although regular beans seem to make beans and then die off.
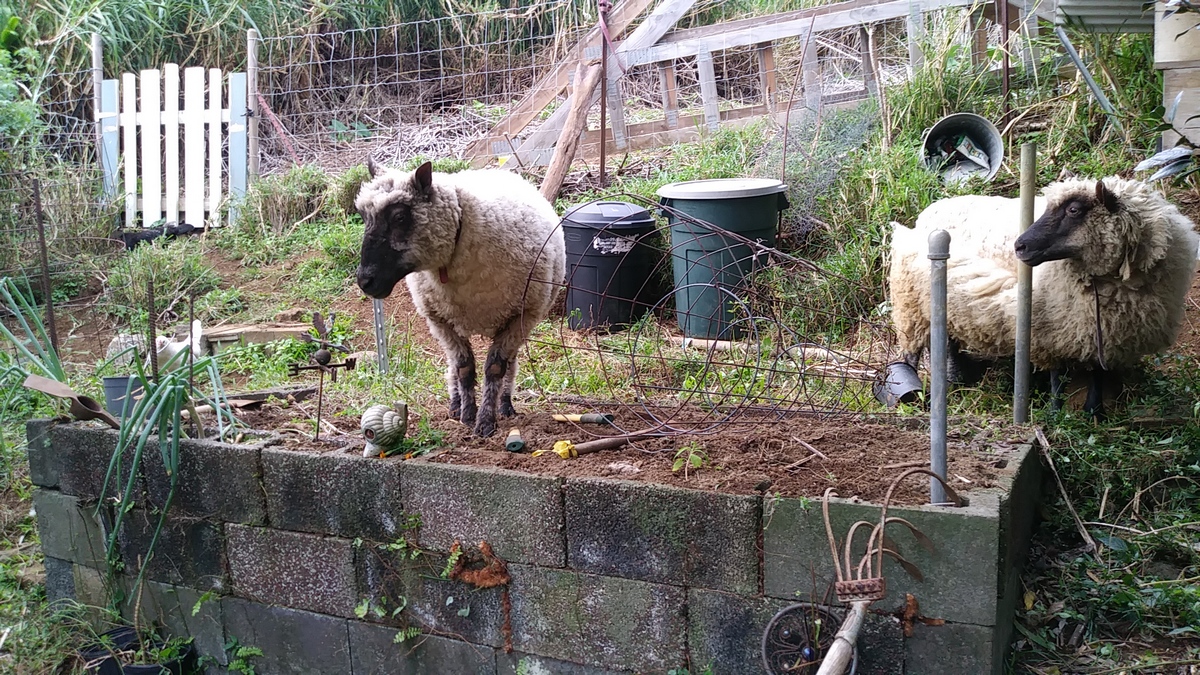
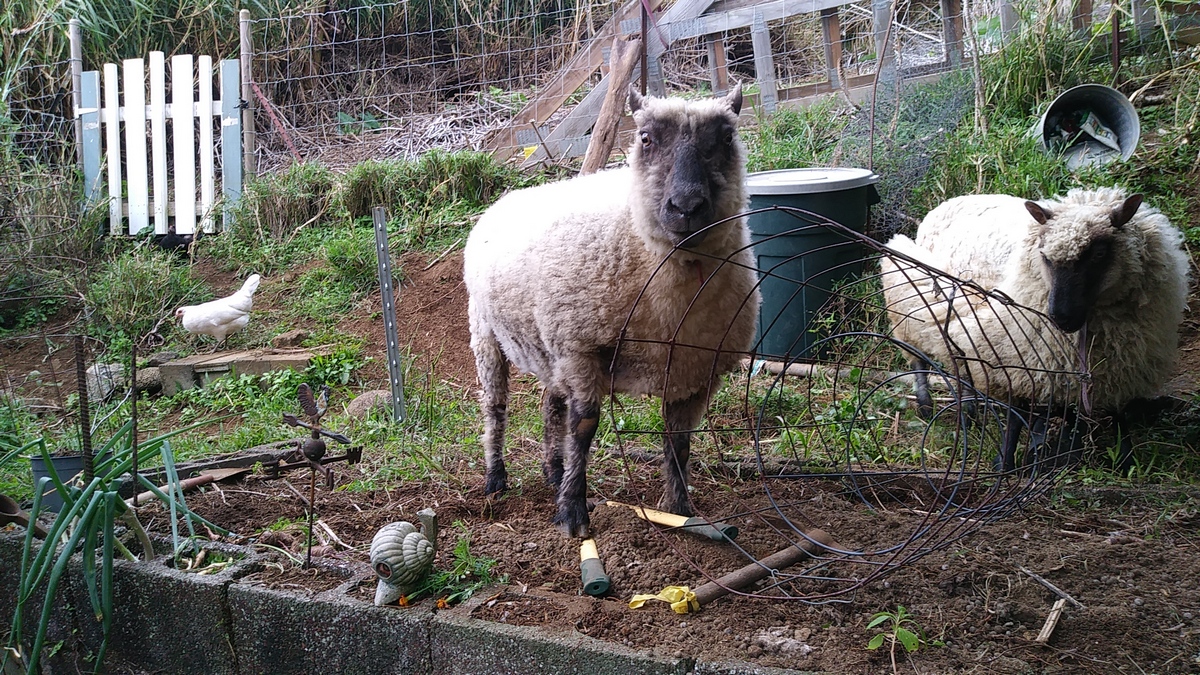
We did get a new garden clearing crew. They were pretty happy to clear away all the things growing in the garden along with the other things growing at the back of the house. Sheep like tomatoes, who knew?
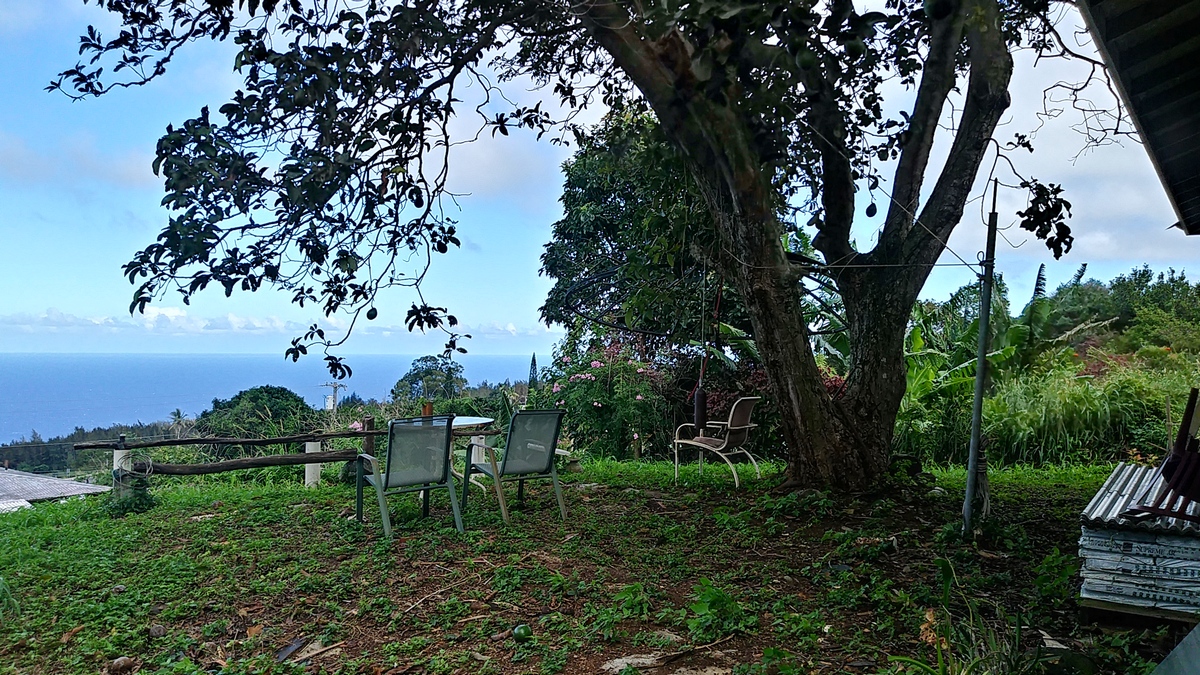
The 'Avocado Plateau' is what we've taken to calling the flat area in front of the big Workshop above the Little House. It's a lovely spot to sit and watch the ocean and sunsets. That big satellite dish had been sitting on top of a pile of old dead mini-fridges. When the hotels change out, then there's loads of hotel stuff loosed onto the island, so I'm sure that's where they originally came from. But, they'd been left out and were taken over by rain and Guinea grass and were unsalvageable by the time we met them. I'm saving the big satellite dish as the roof for a new 'tea pavilion' once I get around to building it. That will be at the front edge of the Avocado Plateau, but haven't even started that project yet.
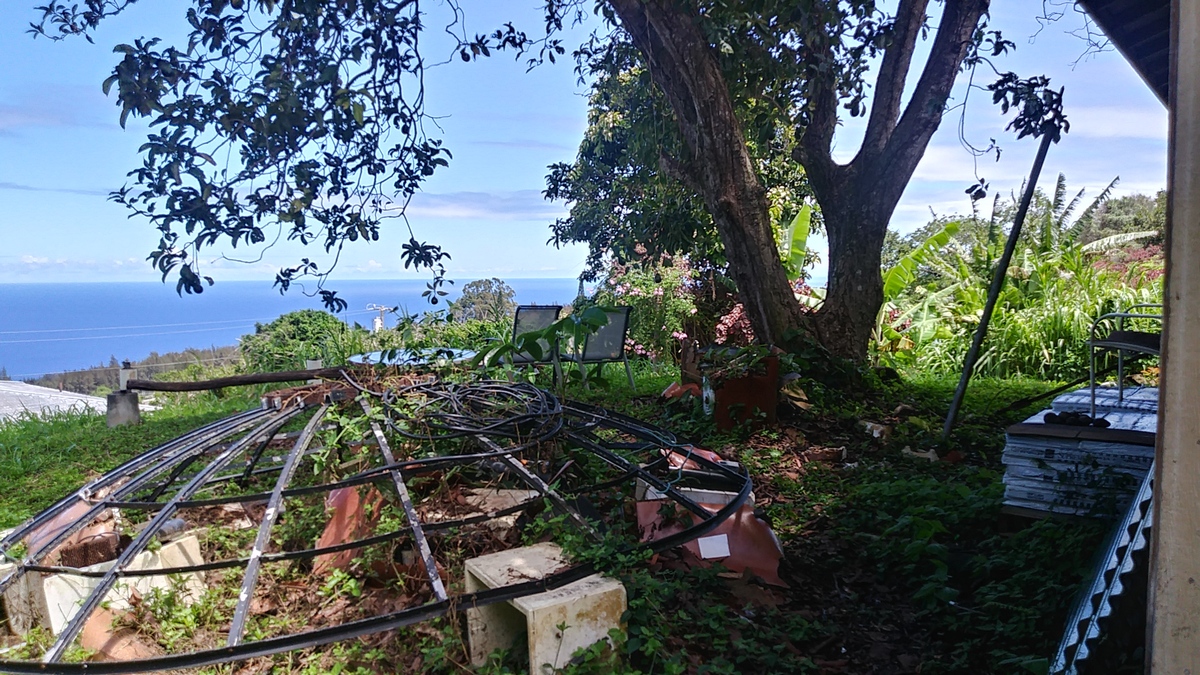
The beginning picture with the last remaining dead refrigerators under the big satellite dish. At one point, I counted forty six of dead mini-fridges on the property. What you can't see in the picture is the carpet under the grass. At one point, most of the property was capeted. The leaf litter has composted and there's now grass growing on top of it. Major PITA to remove it, so not sure if that's gonna be another thing on the 'to do' list or not.
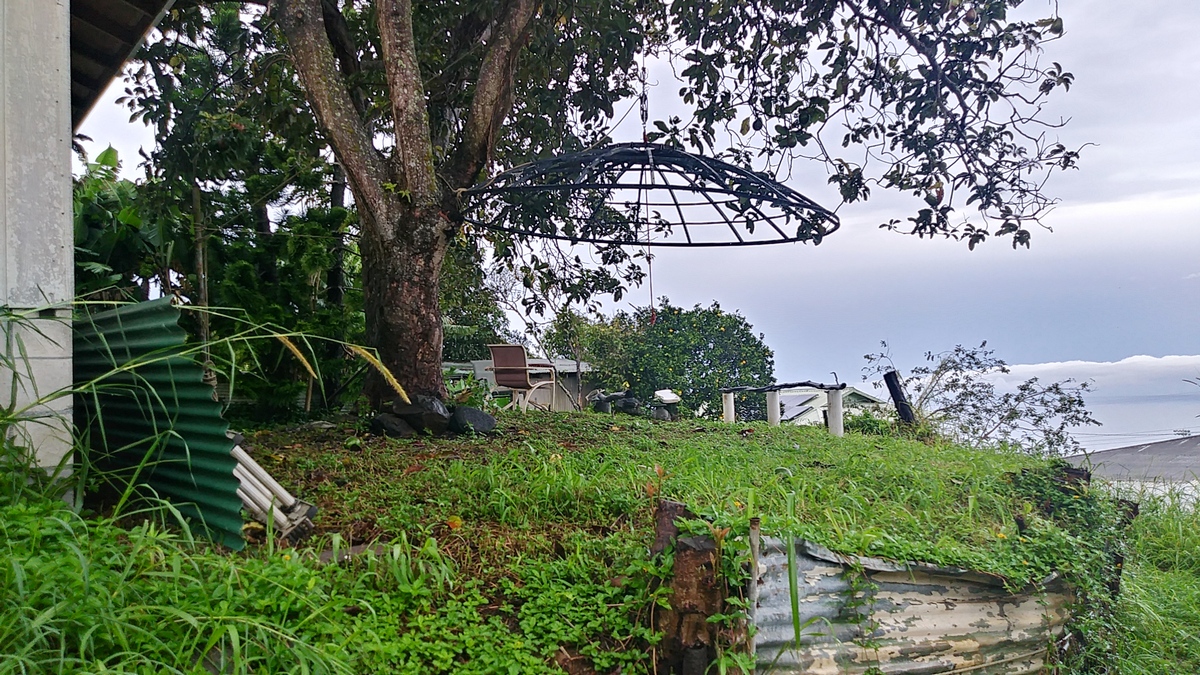
The big satellite dish is hung in the avocado tree at the moment. It gets it up off the grass so the grass can be mowed so we can find the avocados easier. The Avocado Plateau has a wall made of old corrugated tin metal that makes the area level. At some point, it would be nice to replace the tin with a rock wall, but that's not even on the 'to do' list yet, let alone up near the top. I'm also planning some steps up from the driveway to the Avocado Plateau from basically where this picture was taken, but that's not on th elist yet, either.
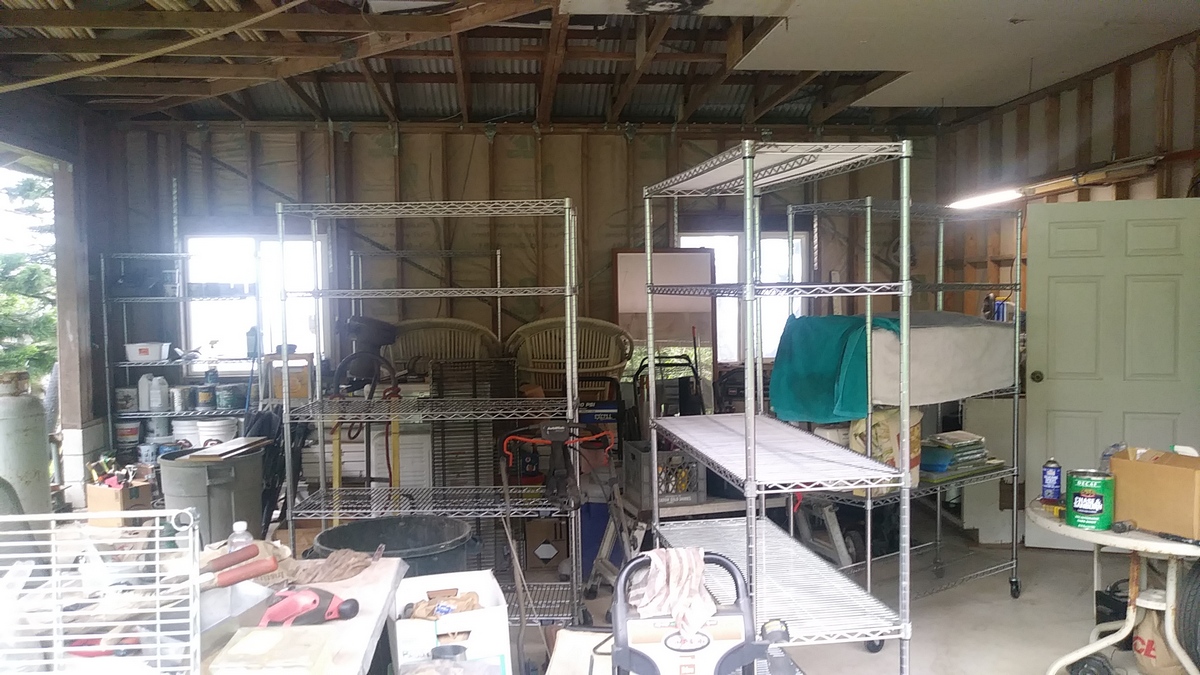
The Workshop has been worked on and parts of it are actually beginning to function as a workshop, but there's still a lot of work to be done before it's fully functional.
There had been a lot of stuff stored offsite in a friend's Quonset hut (those big half cylinder buildings made from roofing tin). However, they were planning on selling their place so it had to all be moved out. Since the Workshop wasn't quite ready to store things in yet, some big roll around racks were found and all the stuff was put onto movable racks.
This picture is from several months later and the wall with the two windows in it is on the left side of the picture where the new wall cabinets are. The stuff is now on about eight of those big racks and they're sorta herded into the center of the room at the moment.
The big racks can be shoved out of the way when different areas of the Workshop need to be worked on. A pile of OMG brown kitchen cabinets were obtained for just hauling them away. Someone in Kona got a new much more stylish white kitchen so now we have kitchen cabinets for the workshop. They're still being hung on the wall and still haven't had stuff stored in them yet, but hopefully there will be storage space for all the stuff on racks and then there will be open space in the workshop so it can be a workshop.
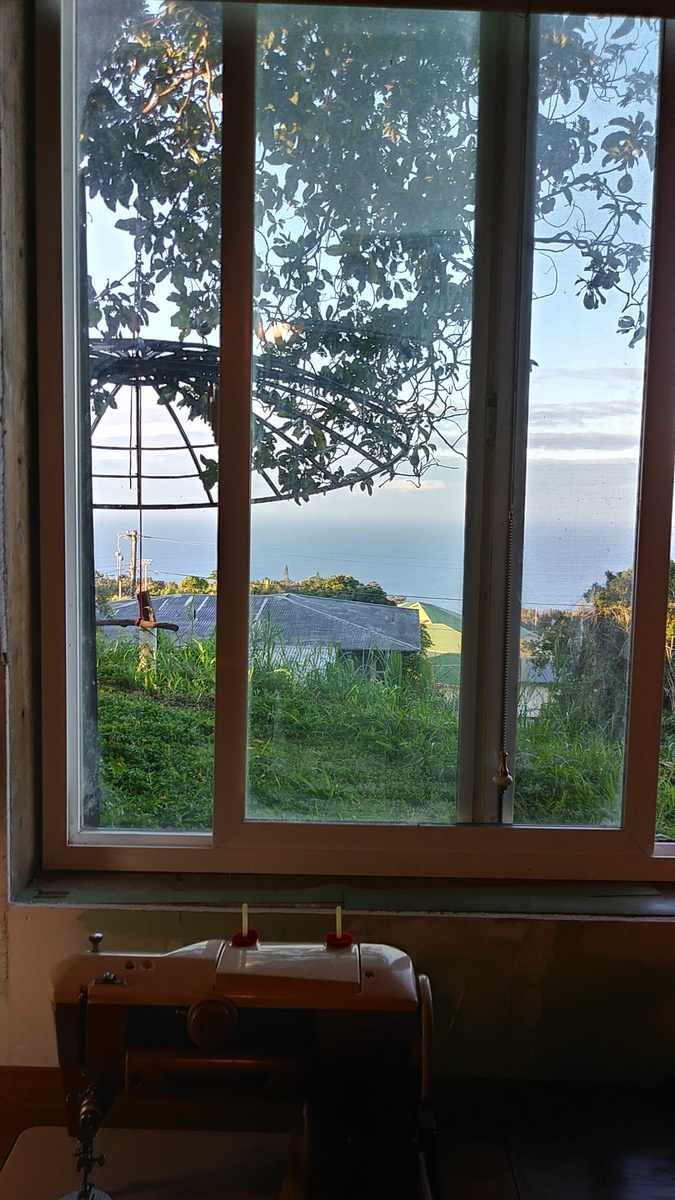
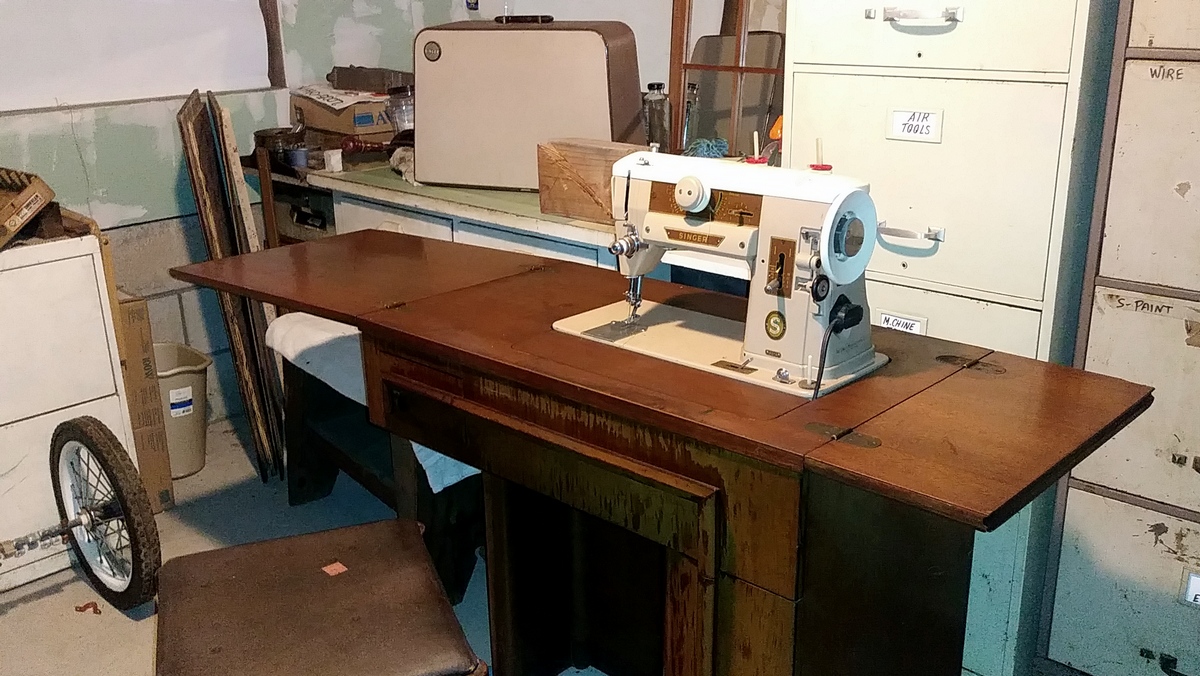
I've taken over part of the Workshop as a sewing area. A 'new' Singer Art Deco sewing cabinet was found this year. I'd been looking for one for several years, but none were available on this island. One showed up on Oahu so our great friends on Oahu gathered it up and shipped it to me. Yay! It's really nice to have sewing machines in cabinets and this Art Deco cabinet is nifty looking as well as functional. It will look really nice in the new house when we get it built, I'm thinking we may do some sort of Art Deco or Mid-Century style.
The sewing area in the Workshop still needs work, but it's functional as a sewing area. Hopefully at some point, it will get finished but I'm really enjoying the sewing machine.
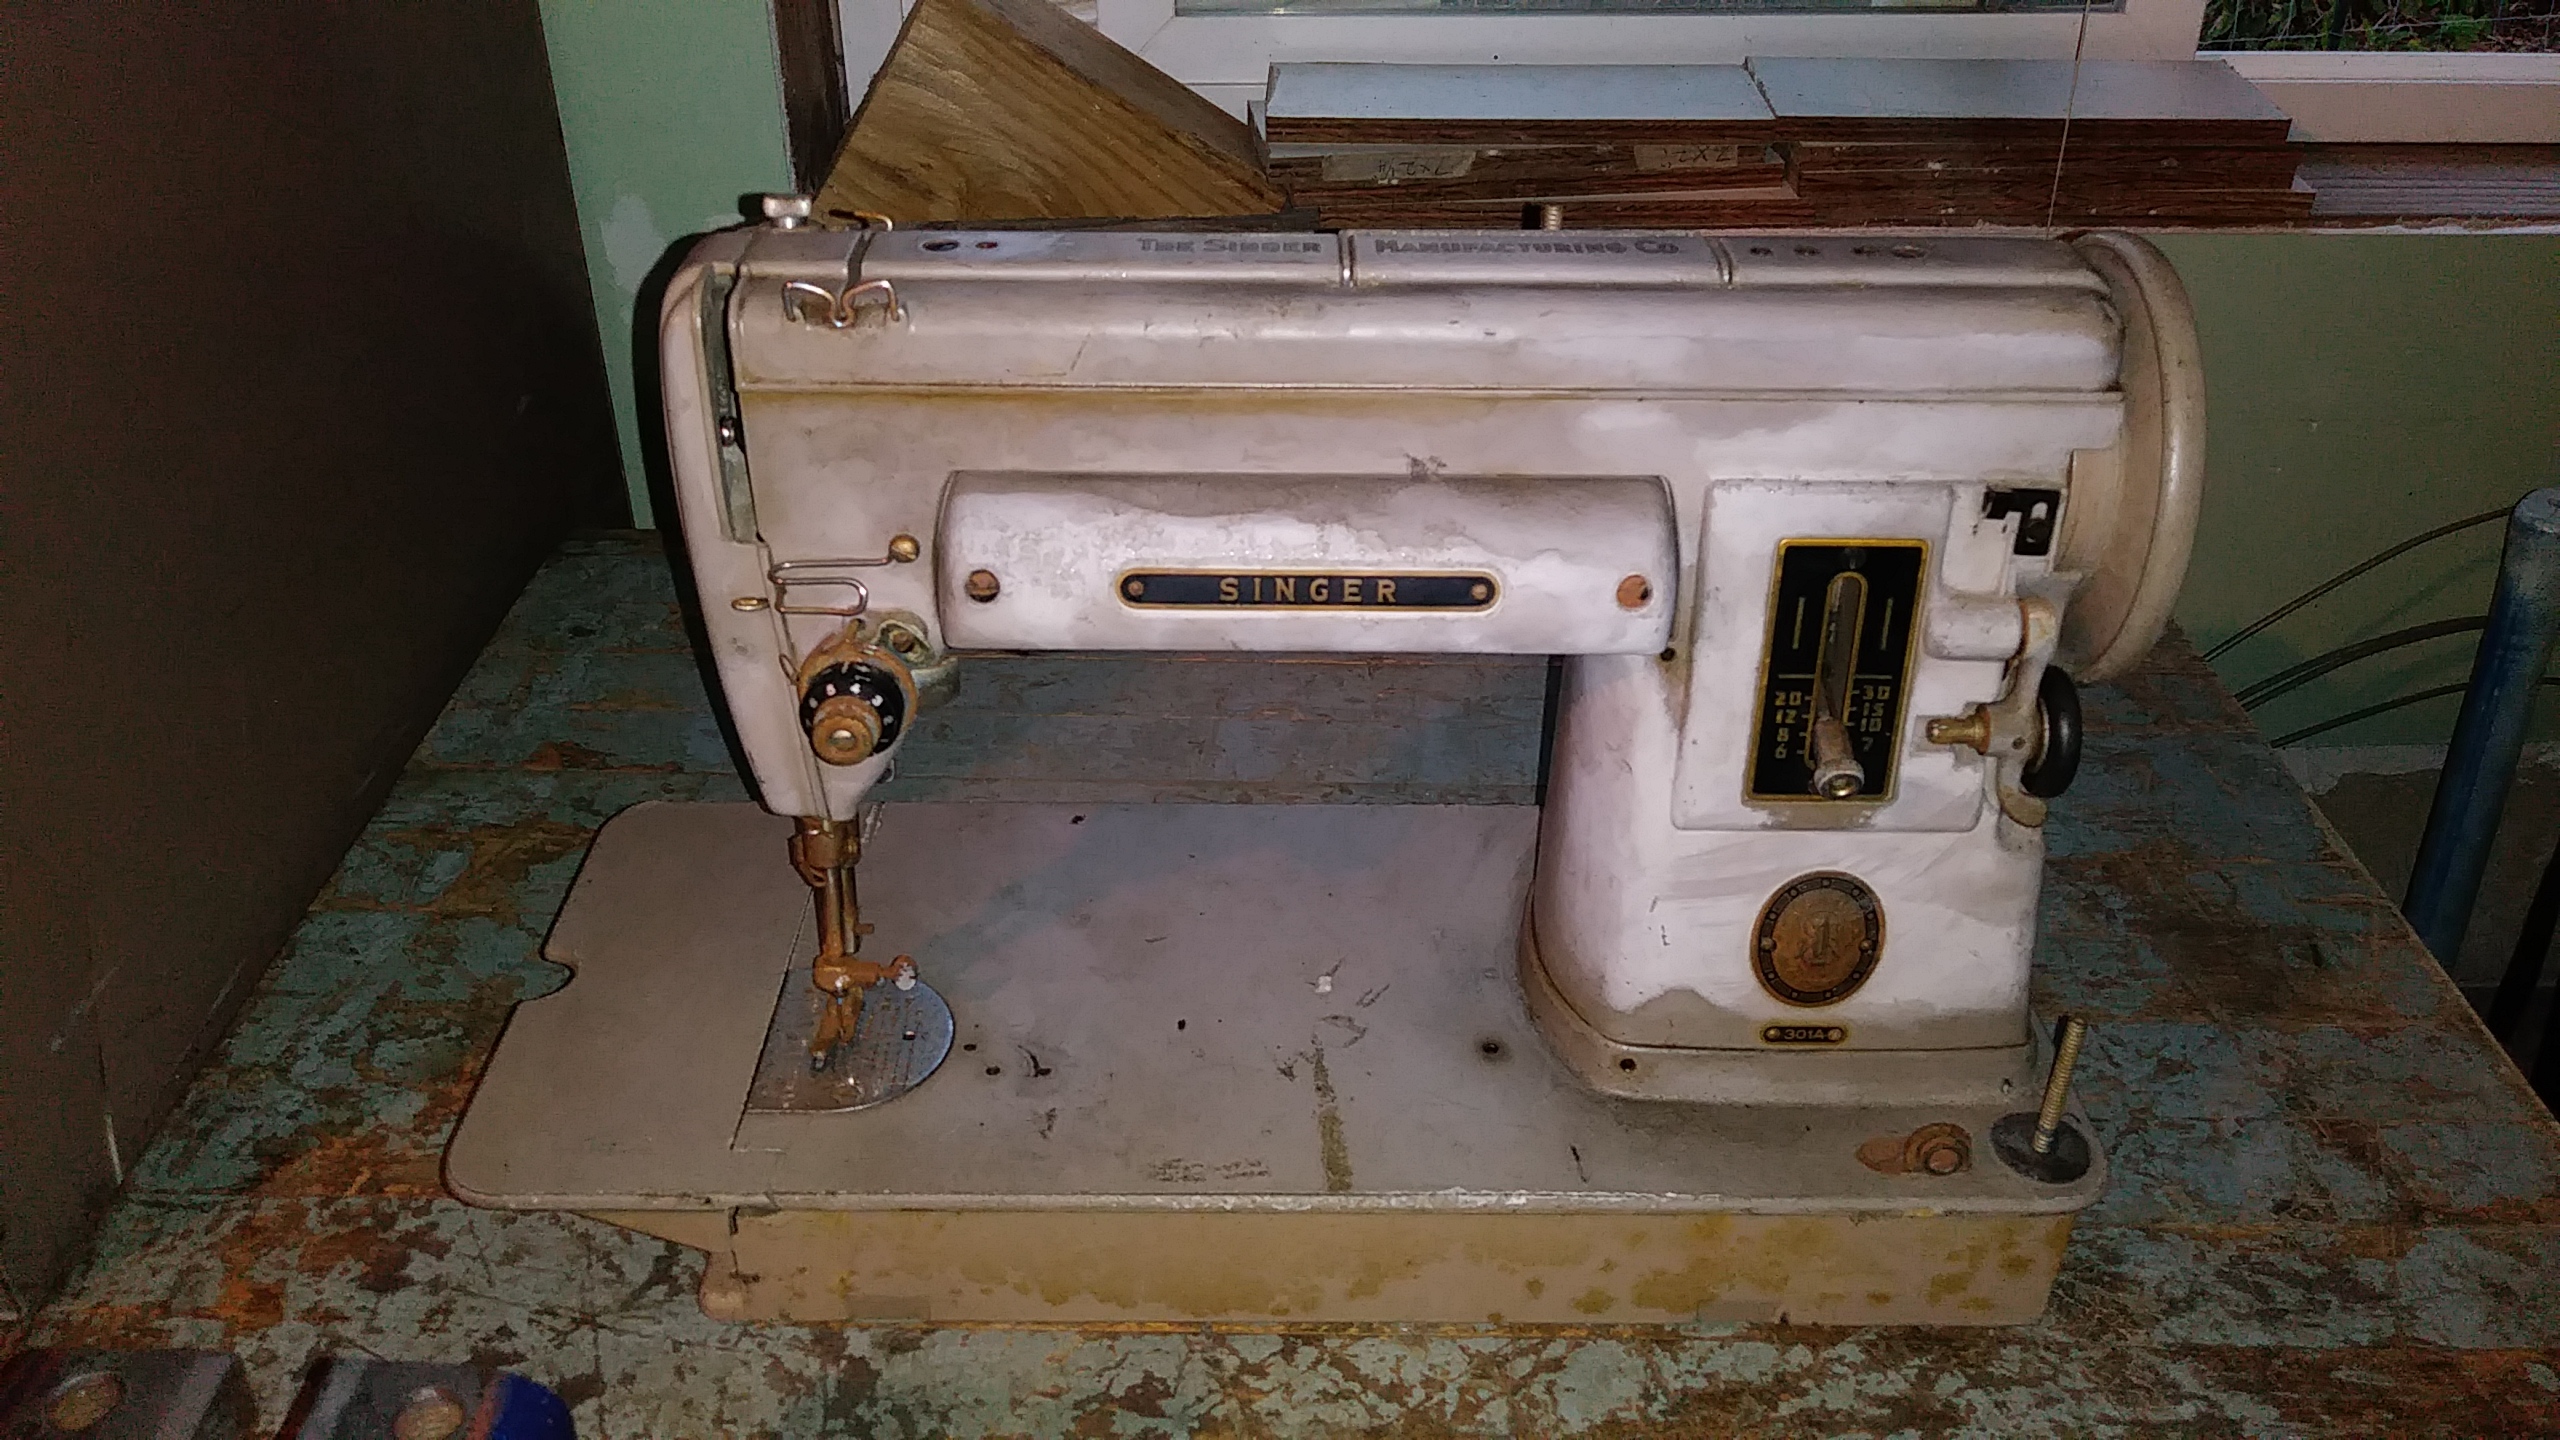
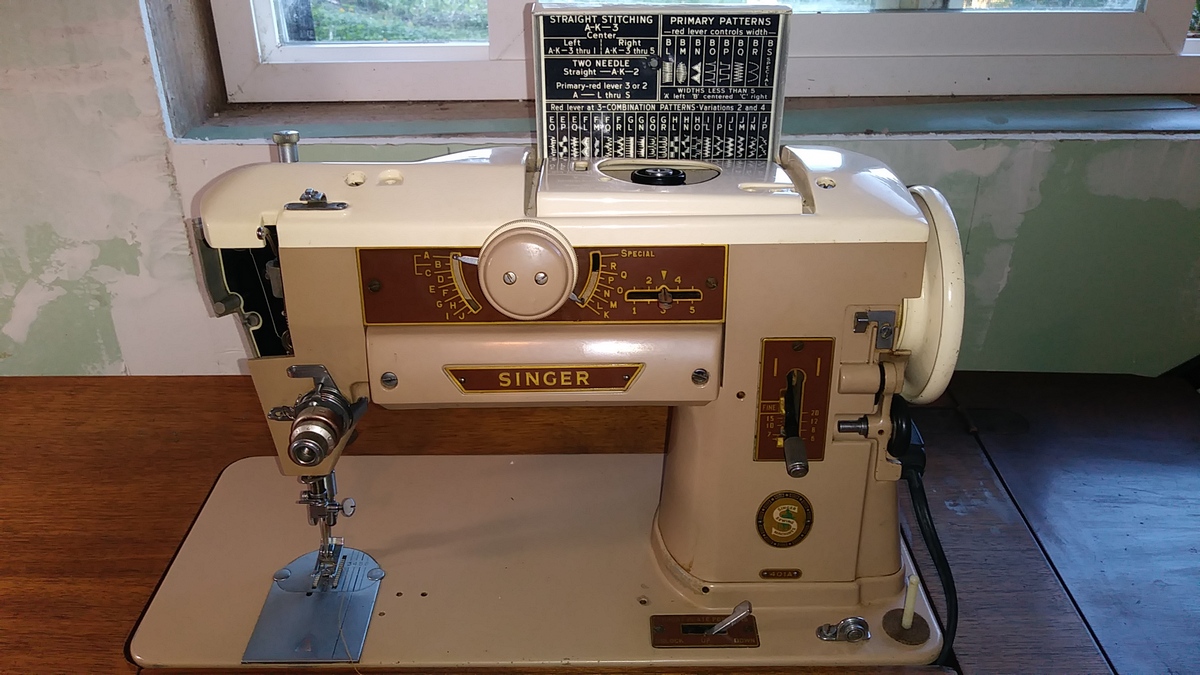
The art deco cabinet came with a Singer 301, which is a good solid sewing machine, although this one is in a bit of a rough shape. It could be fixed, but I already have a Singer 401A to install into the cabinet. The 301 doesn't have a zigzag stitch and the 401A had lots of different stitches. They're both solid all metal machines and the 301 is sort of the big sister to the Featherweight, which is a really popular early Singer machine.
The Singer 401A has three levers which are moved to choose the different stitches. There's a handy flip top plate on the top of the machine which lists all the different lever positions, otherwise, it would be impossible to keep track of them all.
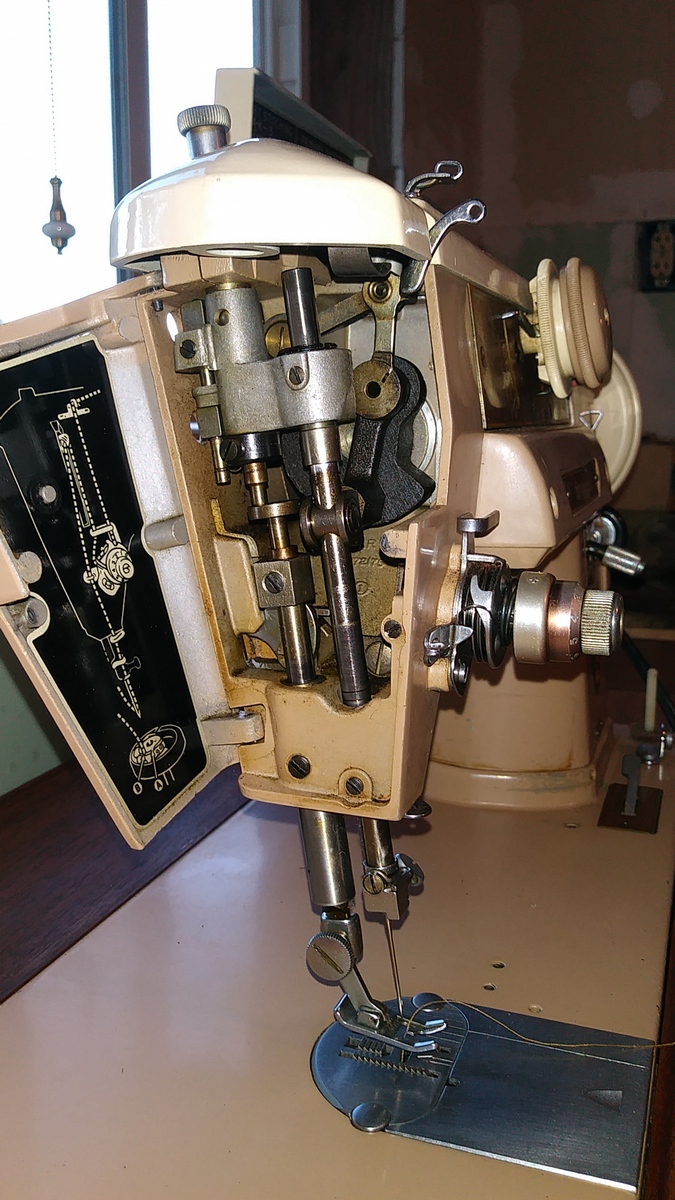
Both machines are part of the 'Slant-O-Matic' series, it's much easier to thread them and the sewing area is more visible. The different stitches are produced by a really intricate cam stack inside the machine and the needle shaft goes from side to side on a pivot point halfway up the shaft. It's an amazing machine and none of the new machines come anywhere close to this level of machining, IMHO.
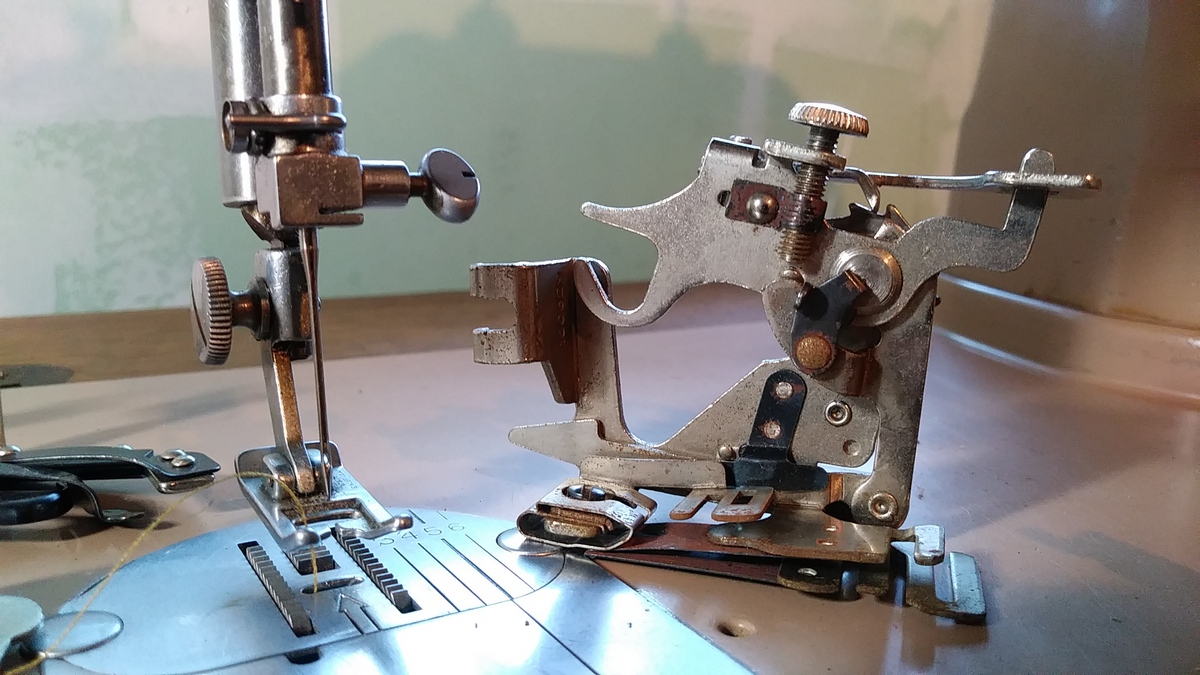
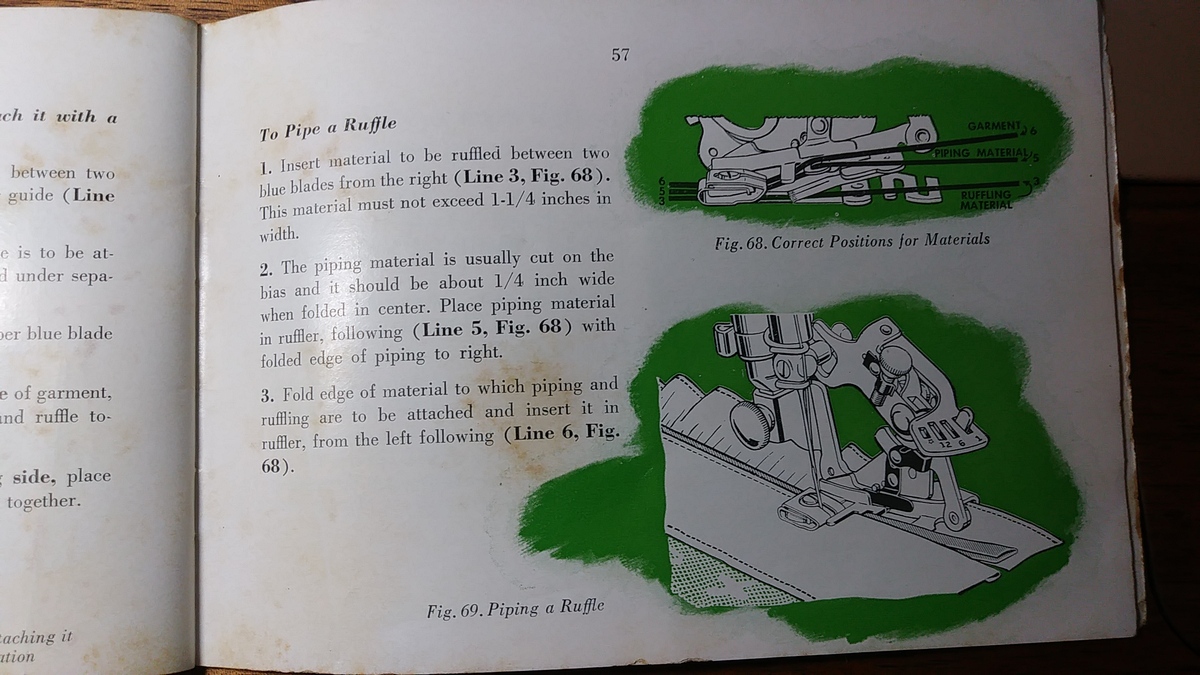
The cabinet also came with a box of attachments. The old school machines would manipulate the fabric for ruffles, edgings, pleats, etc. The new machines can embroider, but they don't usually manipulate the fabric. This one came with not only the attachments but even better the instruction book on how to use them. I may make a sewing machine part to the website and publish the instructions for other folks who have these attachments and aren't quite sure how to use them. The attachment in the picture is a ruffler. It can make ruffles and attach them onto another piece of fabric all in one fell swoop.
The year hasn't been totally work crazy, we've also started going to the beach on Tuesday mornings. Tourists were back over the summer even though the virus hasn't left so we went early in the morning so we would be at a beach with less tourists. We go usually went past the main part of the beach and swimn at a calm cove area. However, it's now wintertime so the waves are kicking up on that side of the island and sometimes the cove is not calm. So, then we take boogie boards and swim at the big beach.
Well, this has been a long update, I'll try to get it posted and then work on the rest of the things that need working on in a bit, I hope.
Click on the picture above for the previous blog entry
or check the list of older blog posts at the bottom of this page
Click on the bunny for the Home Page
